
The Ultimate Guide to Drawing the Turned Head | Loomis Method | Step-by-step Tutorial for Beginners
Estimated read time: 8 min 6 sec
Drawing the head can be challenging. There are many elements to master, like structure, perspective, and proportion.
Master artist and teacher Andrew Loomis developed a step-by-step approach to drawing the head in his book "Drawing the Head and Hands." Initially published in 1956, it continues to be cherished by artists for its time-tested, simple principles and easy-to-remember steps.
The Loomis method of constructing head saves time and frustration. With practice, the results are beautifully dimensional and proportional.
Here's what we'll explore on this page:
1) 3 principles of the Loomis method
2) Step-by-step tutorial to draw the turned head (front, 3/4, side views)
3) Tips for drawing the back of the head
4) How foreshortening distorts proportions
5) Drawing exercises to master this method
6) How to break the rules and get creative
7) Summary
For a traceable template of the turned head in 27 positions, check out this Croquis Kit.

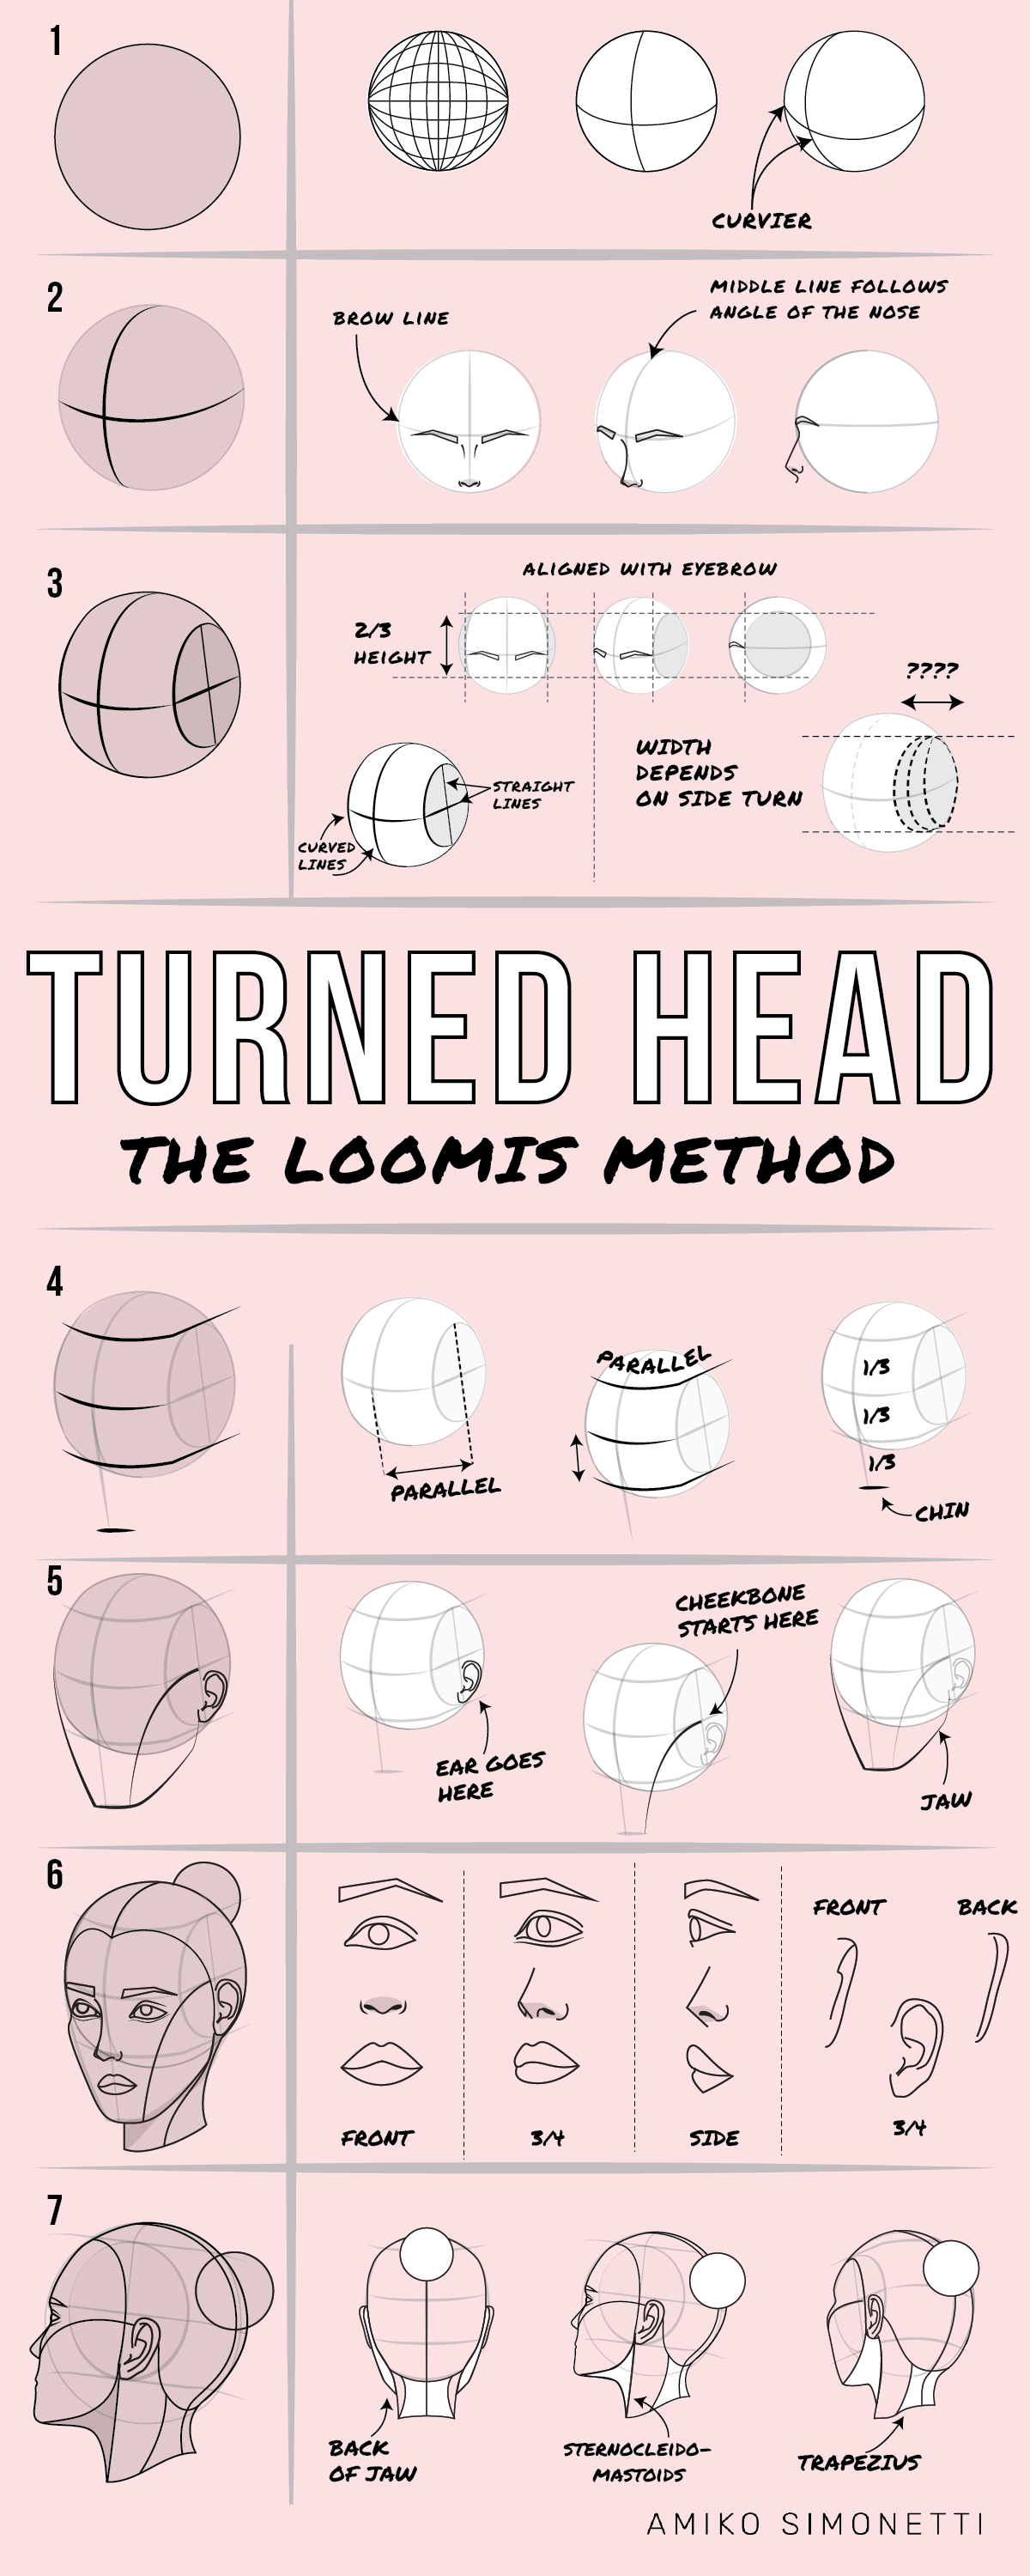
3 Principles of the Loomis Method
The Loomis method is a technique to draw the human head from any position using simple blocks and landmarks. Here are three main principles:
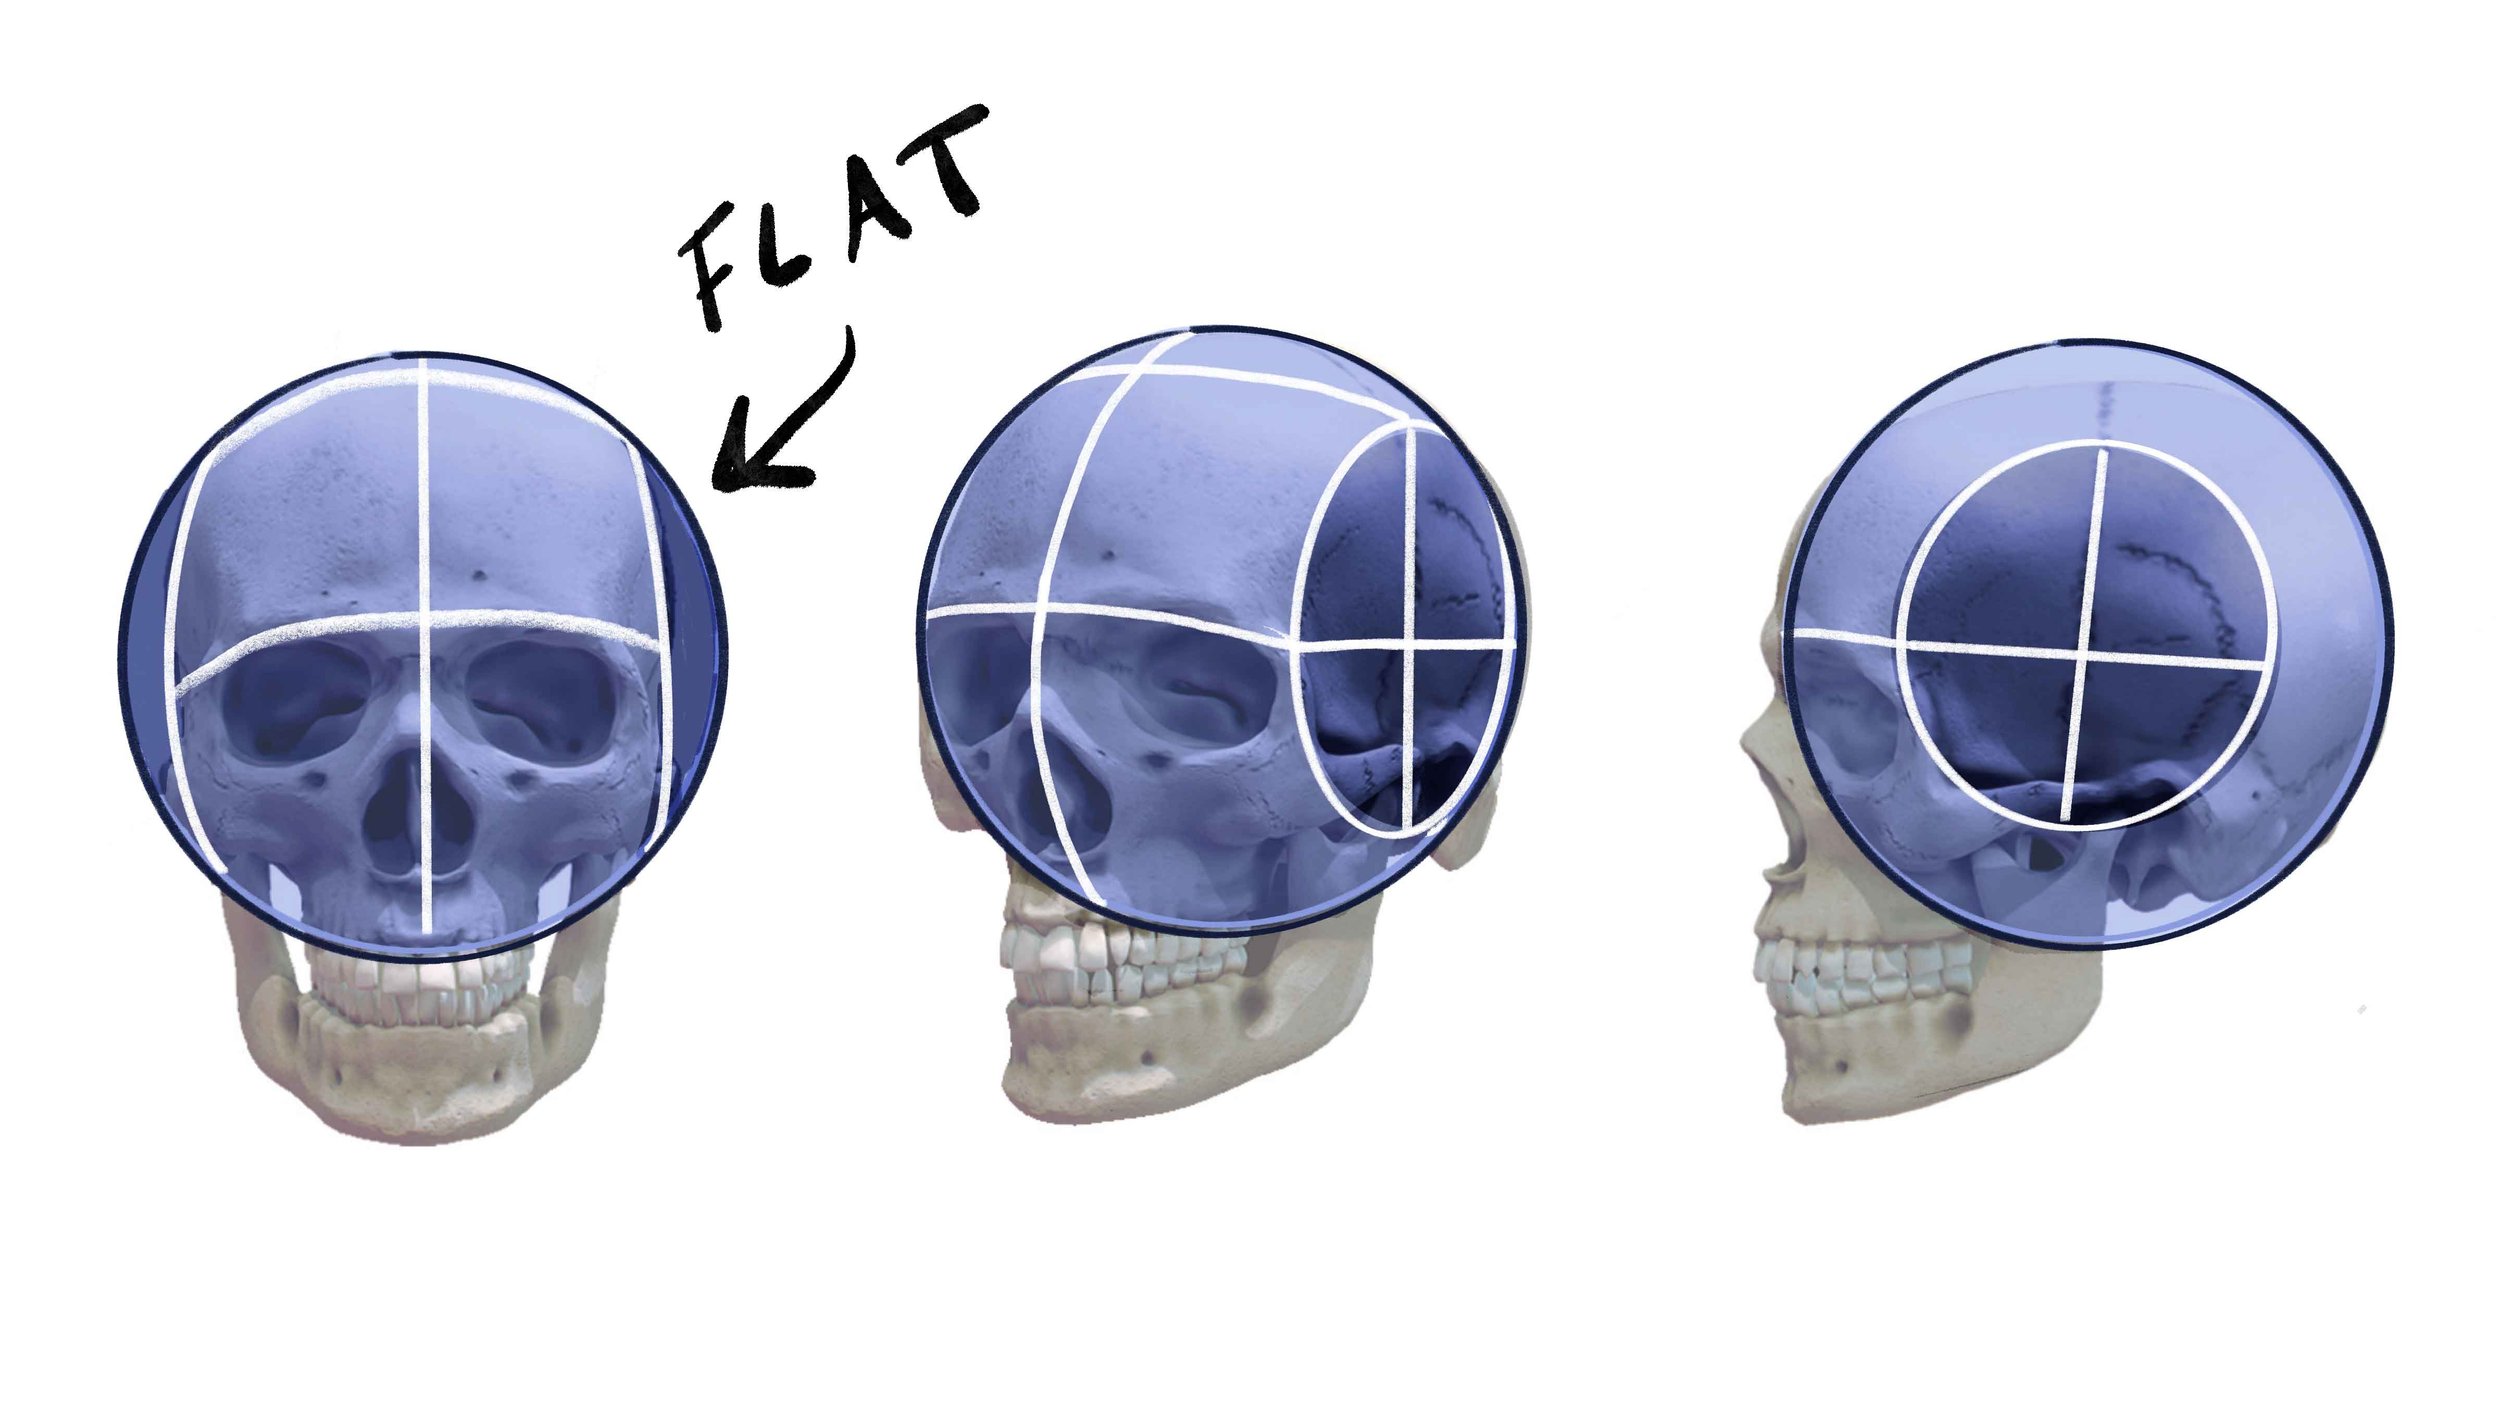
1. The cranium is a flattened sphere.
The head isn't a perfect sphere. Go ahead, touch your skull and feel the shape. The sides of the head—by the ears—are flatter. Imagine the skull's cranium as a ball, with the sides cut off.
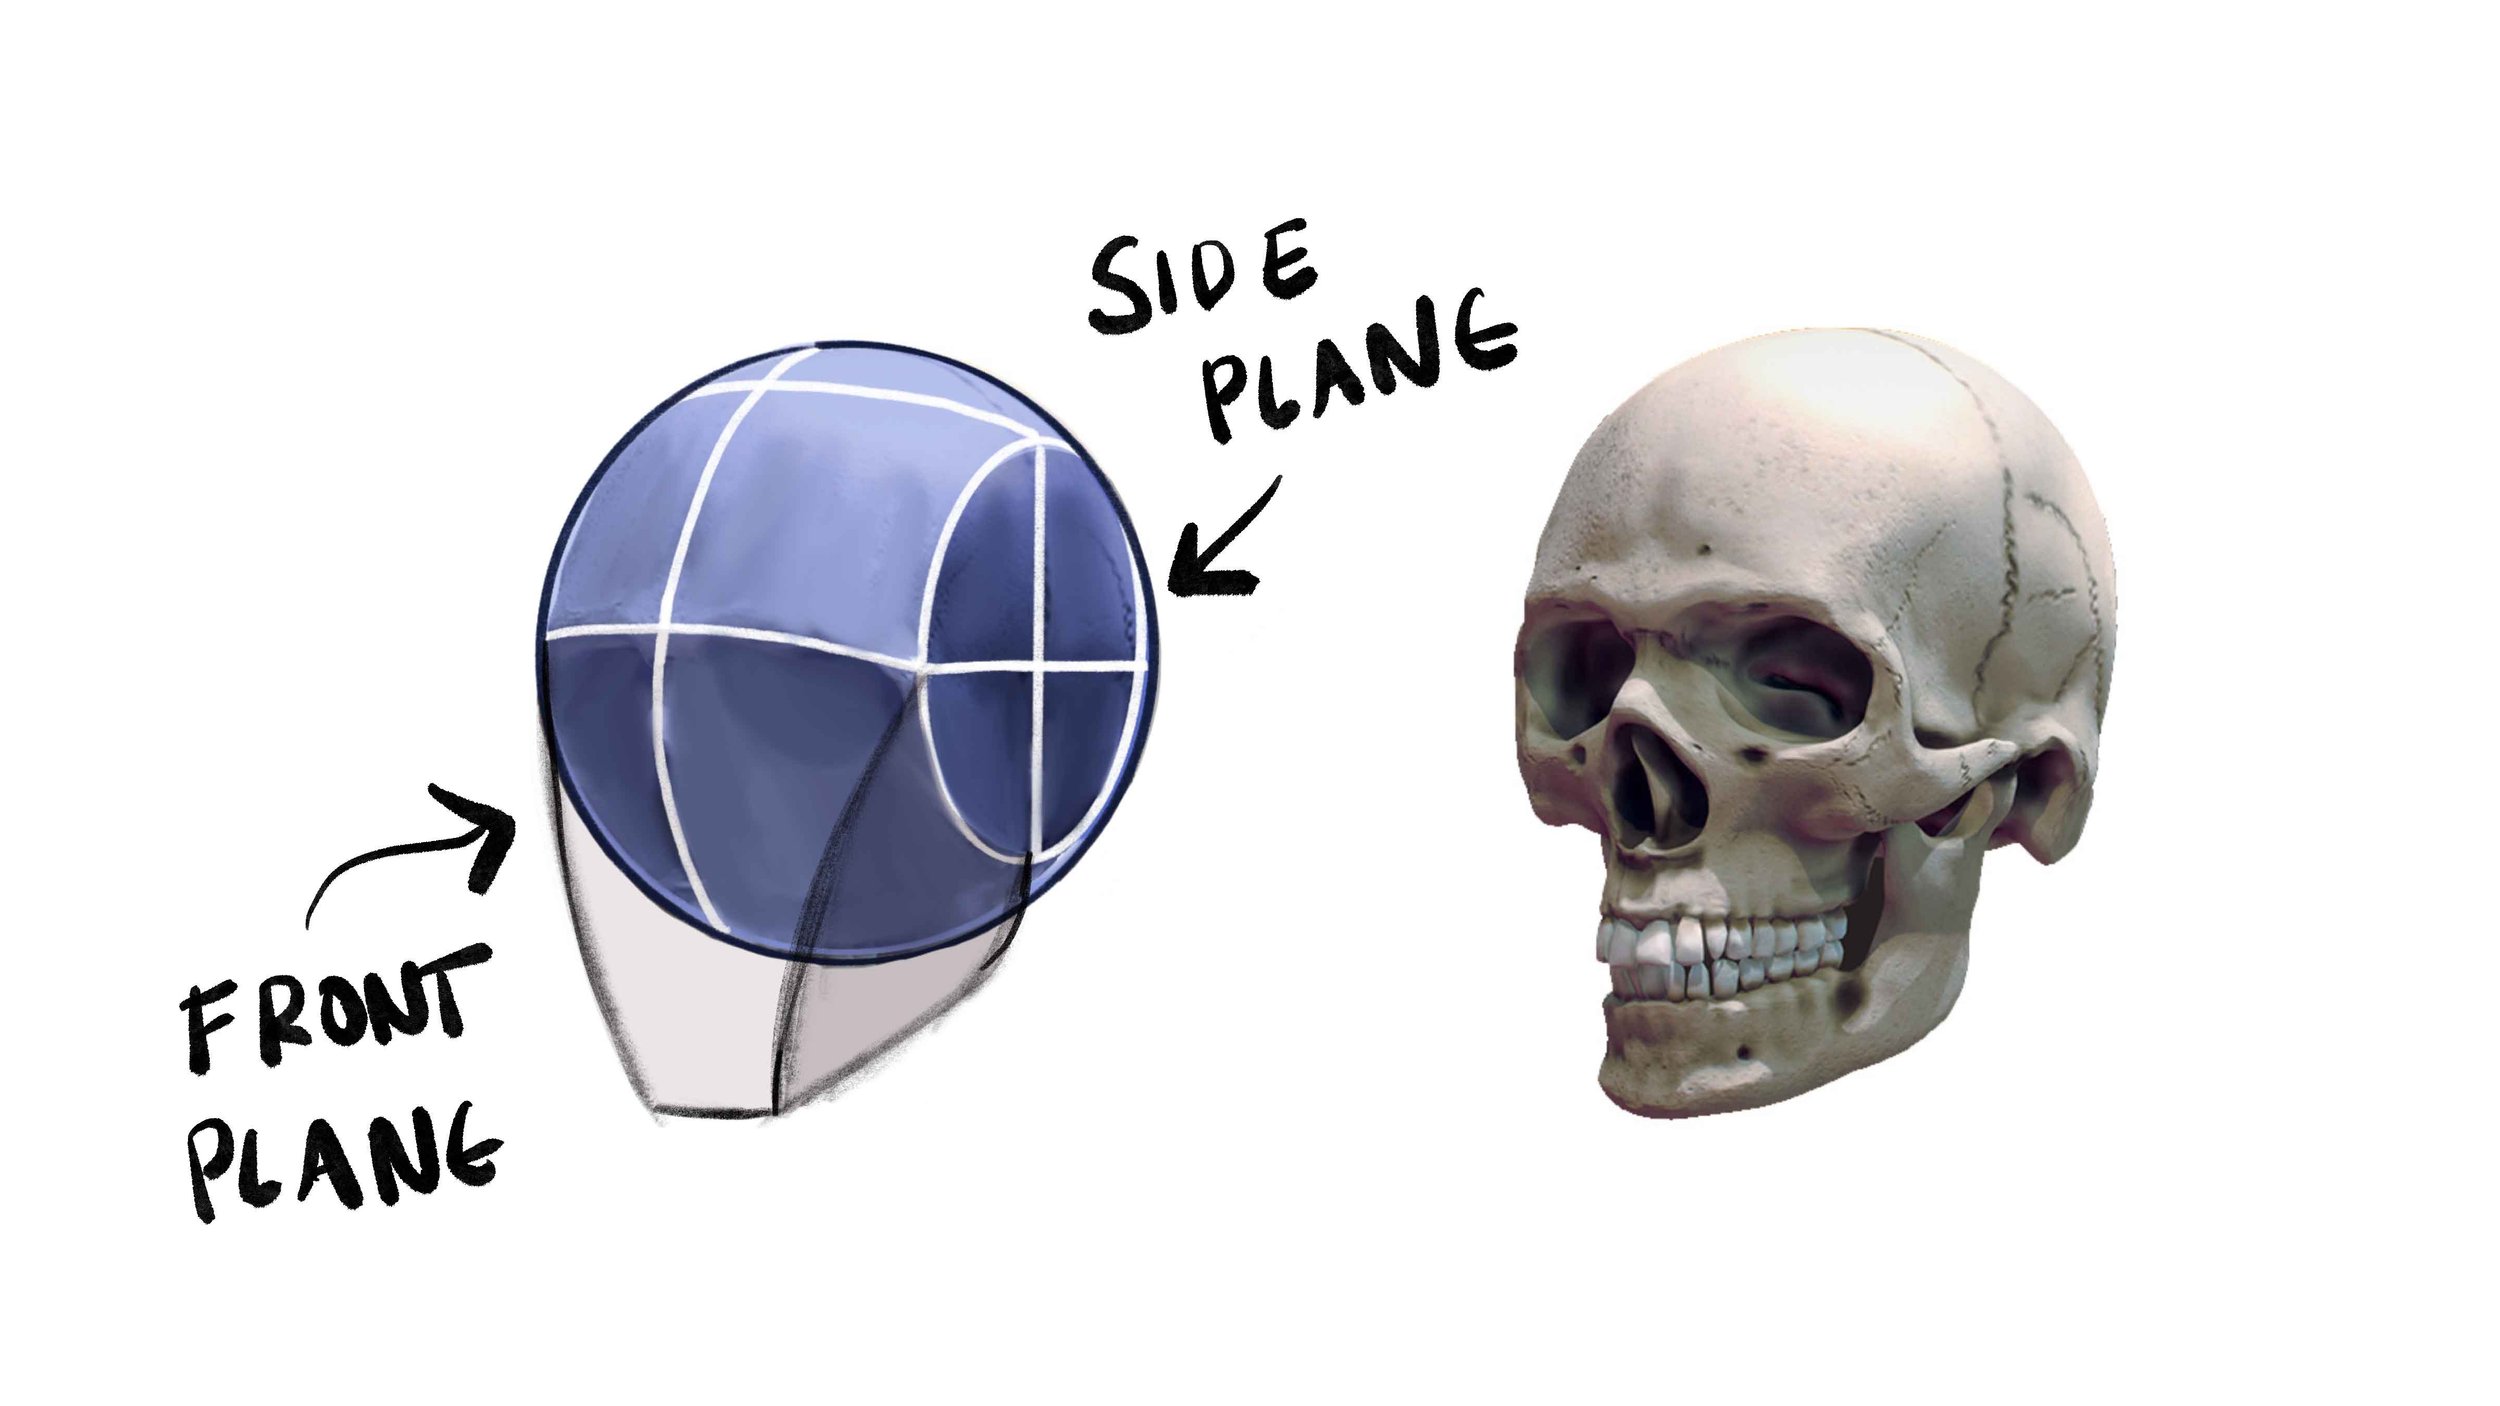
2. The jaw and cheekbones attach to the cranium.
Using methods discussed later in the tutorial, the shape of the jaw is established, resulting in the front and side planes of the face.
3. The facial features are established with the Rule of Thirds.
The front plane of the face can be divided into three equal quadrants, starting at the hairline and ending on the chin. These landmarks establish the placement of all facial features.


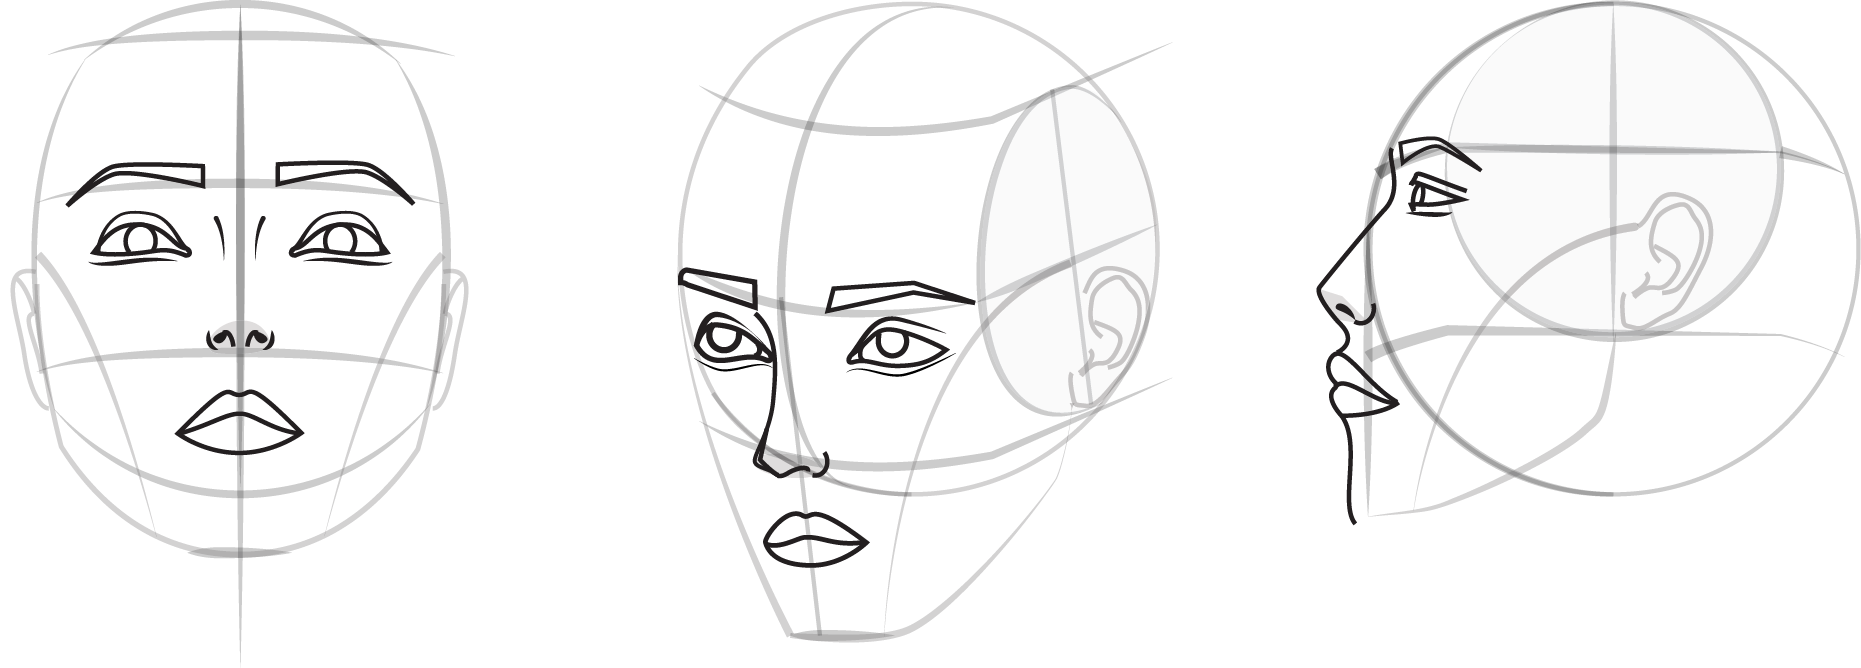
Step-by-Step Tutorial (Front, 3/4, Side View)
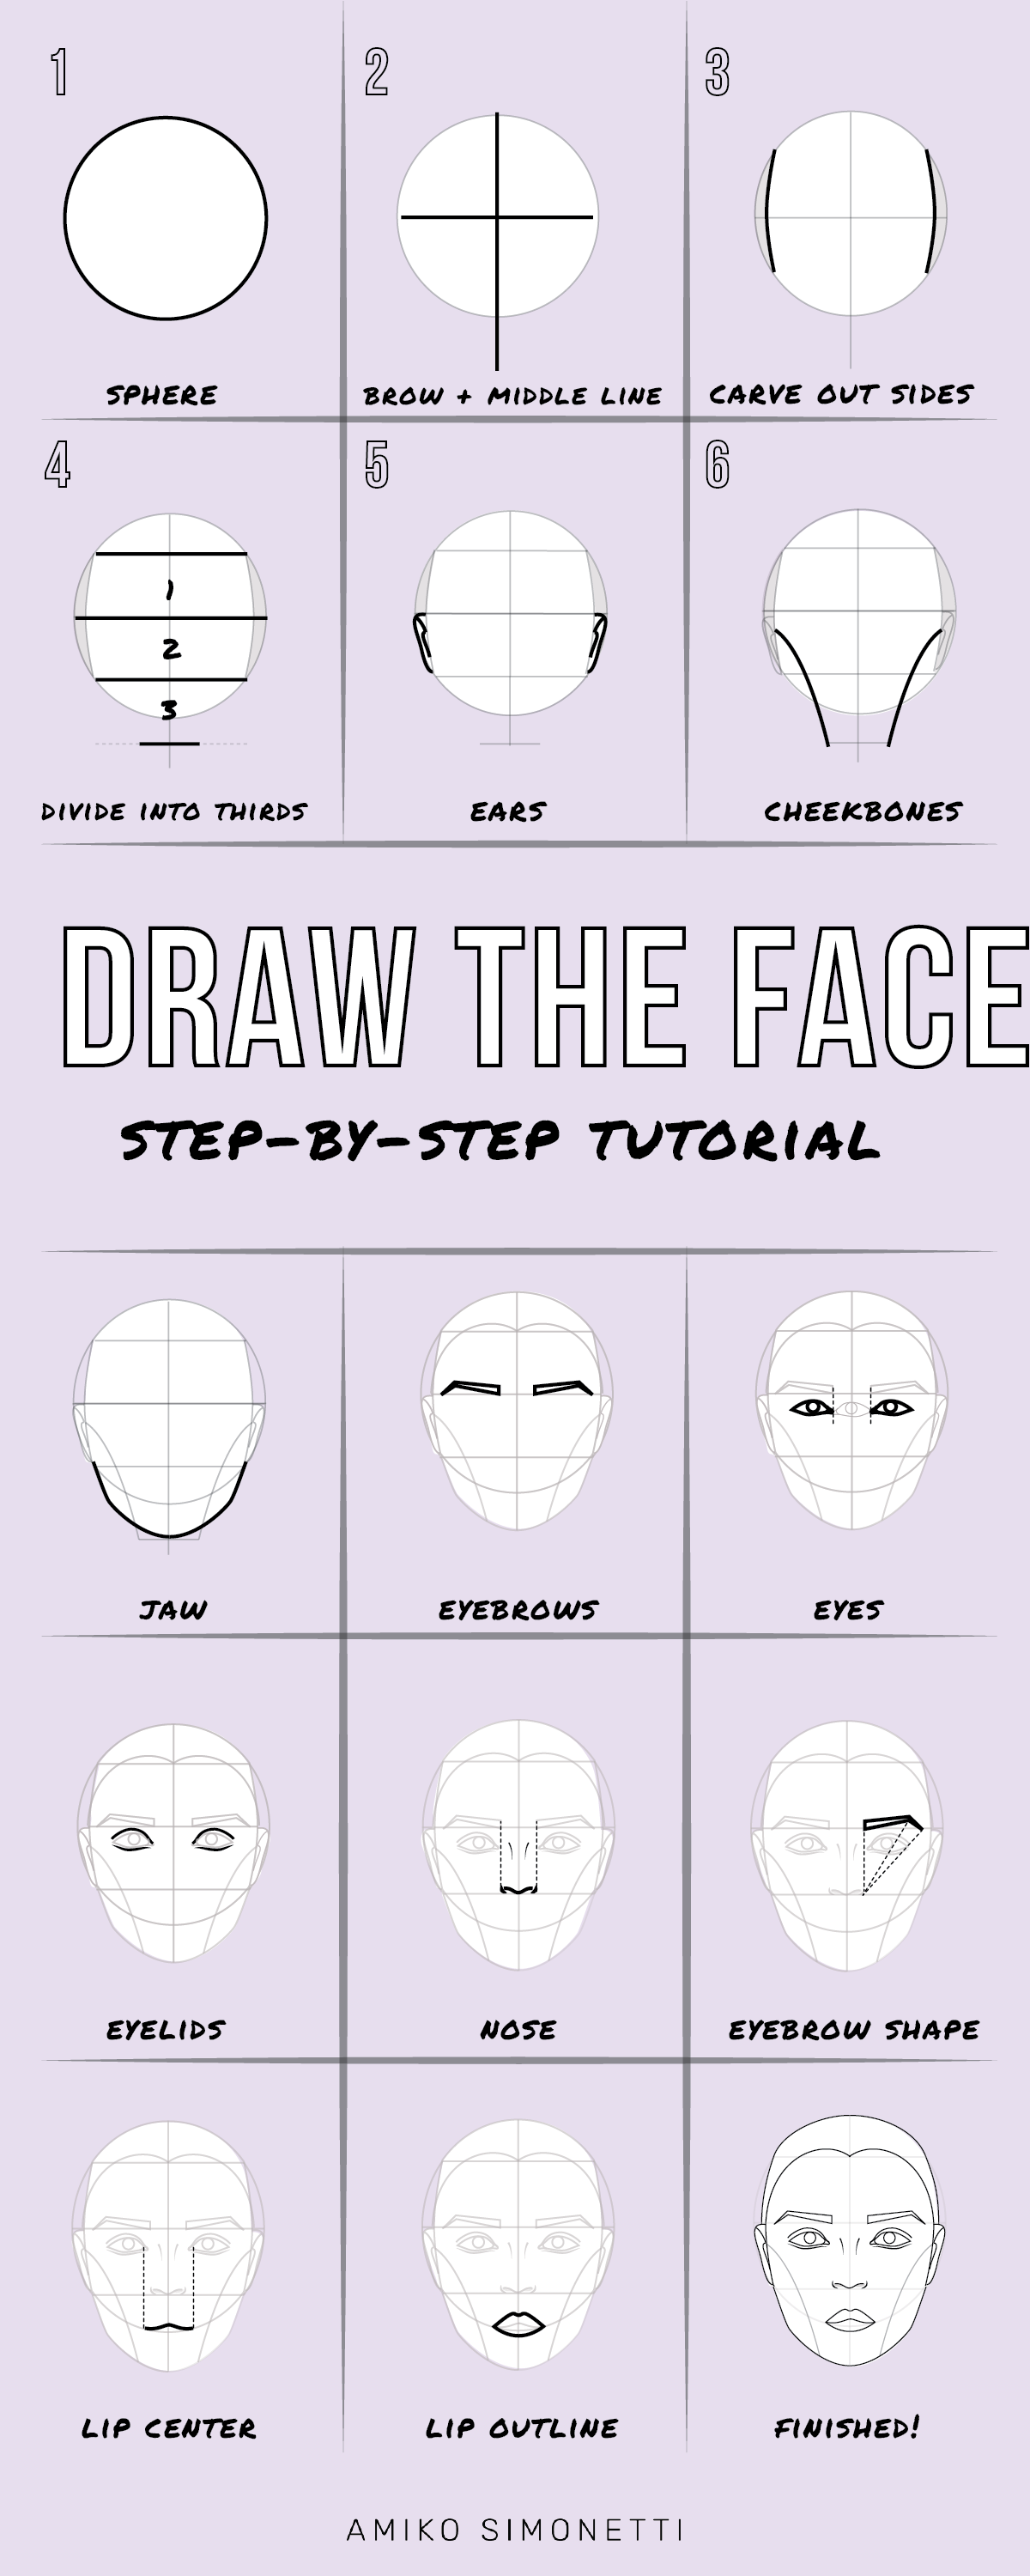
Step 1: Draw a Sphere
Draw a ball. Seems simple right? But hold up, depending on your drawing experience, it's can be a bit complicated.
A. Draw a circle
"If I could only draw a circle," said everyone at some point.

Start by hovering the pencil over the paper in a circular motion (tip: focus on the movement extending from the elbow instead of the wrist for more control.) Begin adding light strokes and press harder on your pencil as you gain confidence in the shape.
It doesn't have to be perfect, but make sure the height and width are consistent. You can draw a box around the sphere to check the dimensions.
To preserve dimensions, try drawing four dots first. Then using the technique above, you can connect the dots in a circle.
B. Draw a cross for the brow and middle line
The brow line represents the eyebrow placement and should follow the angle between the eyebrows. The middle line represents the face's center and should follow the angle down the nose.

C. Wrap the brow and middle line around the sphere
Because of perspective, this can be tricky. The lines contour around the sphere. The severity of curvature depends on proximity to the edge of the sphere.

Note: Lines closer to the center of the sphere will appear straighter, lines closer to the edge appear more curved. Any line in between is a compromise.

If unfamiliar with spheres, I suggest practicing with the below Lined Sphere 3D model before proceeding further. Move the sphere to different positions and study how the curvature of the lines change.
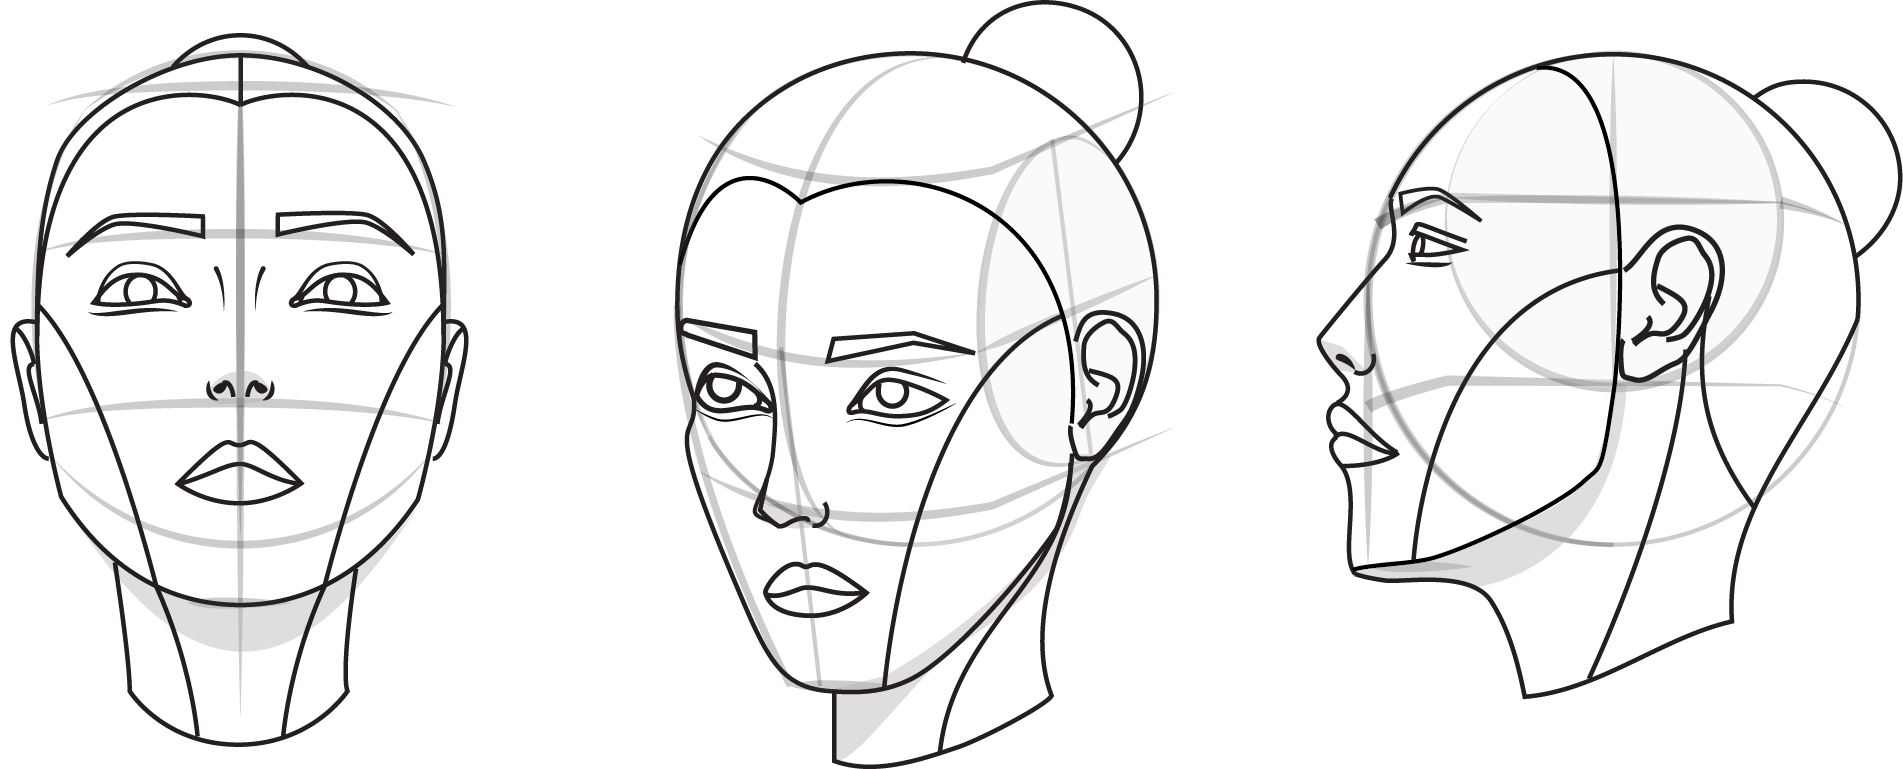
Step 2: Flatten the Sphere
Remember, the skull is not perfectly round.
A. Draw an oval
The oval indicates the flattened sides of the skull

This can be a bit challenging, so here are some tips to remember:
1) The height of the oval is about 2/3rds the height of the sphere
2) The width depends on the degree of the profile view.
3) It's helpful to use the eyebrows to determine the ovals' placement. The oval will be centered at the brow line and hit just outside the eyebrow

B. Draw crosshairs diving the oval
The crosshairs should be straight (erase previous construction lines as necessary.)

Step 3: Divide the face into thirds
Three equal sections divide the landmarks of the face.
The landmarks of the face are as follows:
Hairline <> browline <> nose <> chin
A. Starting at the brow line, extend a guideline down the middle line of the face. This line should be parallel to vertical line at the flattened side (s) of the skull.

B. Draw parallel lines to mark the hairline and bottom of the nose.
C. Measure and mark the bottom of the chin (same measurement at the other quadrants.)

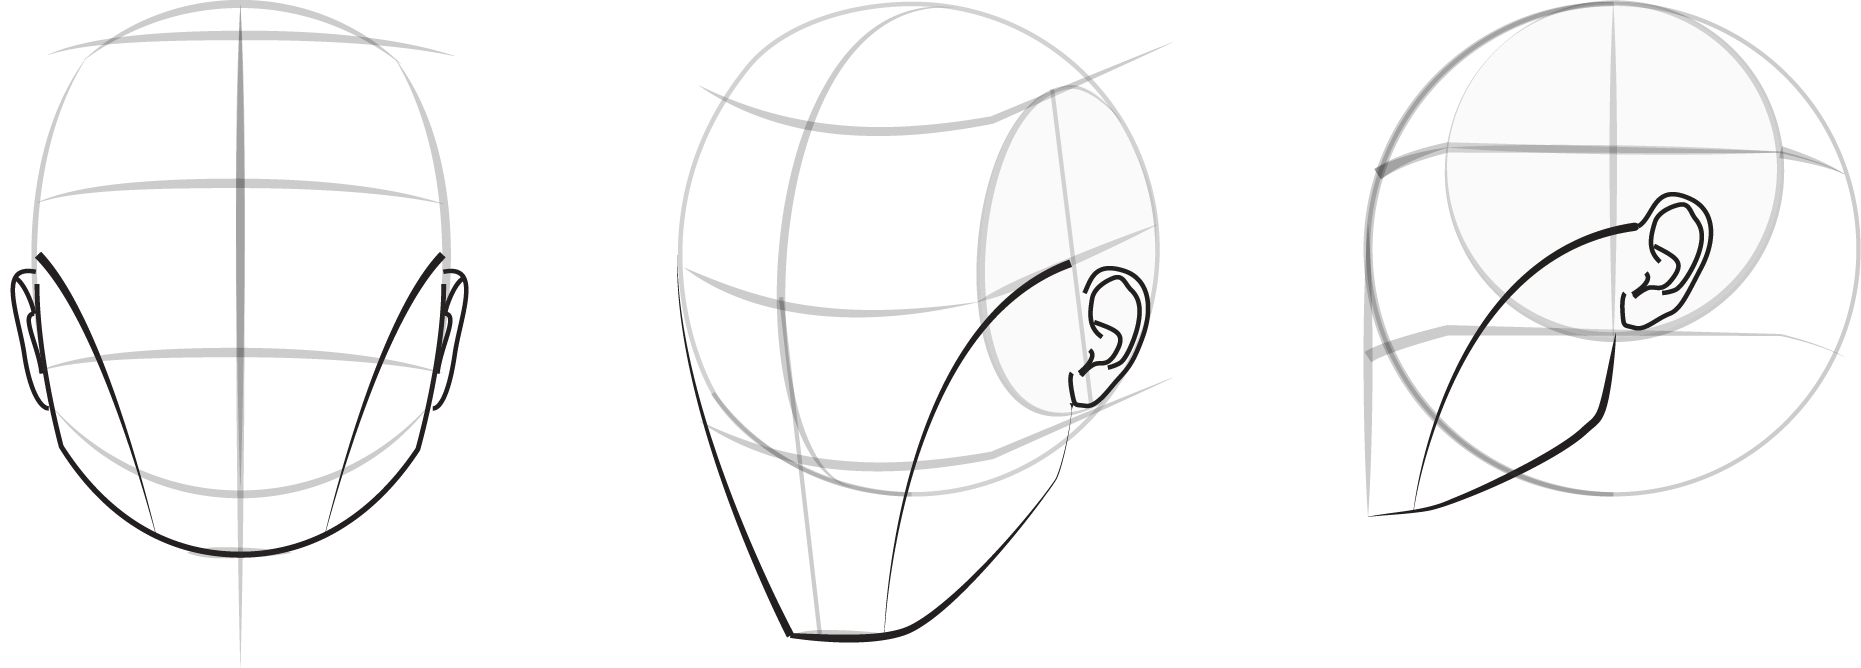
Step 4: Draw the jawline of the skull
A. Draw an ear in the outer quadrant of the oval
B. Draw a guideline for the cheekbones from the top of the ear to the chin
C. Draw the jawline from the bottom of the ear to the chin
Step 5: Add facial features
The last step in this tutorial is drawing the facial features of the eyes, eyebrows, nose, and lips. Remember that these features appear different on each side of the face depending on the perspective.
To practice drawing the facial features from different angles, check out these free 3D models:
Tips for Drawing the Back of the Head
The Loomis construction method works for back views, just like front views.
Here are some tips:
• Use reference photos to study the shape of the jaw, ears, and profile from the back
• The neck partially hides the jaw. A shadow under the chin helps.
• Indicate the trapezius muscle, which extends up the back of the neck to the skull.
• Place a bun at the top of the head to visualize the tilt of the head. The bun will appear higher the lower the chin.
3D model “Lisa” by Skullvez via Sketchfab

How Foreshortening Distorts Proportions
When drawing the head in more subtle angles, especially as a beginner, it's ok to overlook foreshortening and focus on the basic construction of the head. After getting the hang of the steps, revisit this section.
Foreshortening is an advanced technique, but I will attempt to break it down into simple terms. First, let's talk about perspective. Perspective drawing is a technique to give a three-dimensional feeling to a flat image. In perspective, closer objects will appear larger while farther objects will appear smaller. Foreshortening refers to how we perceive an object as it recedes into space.
Let's explore how this principle applies to the head in perspective.
First, let's review that the face is divided into three equal quadrants from the hairline to the bottom of the chin. The relative proportions of these quadrants are affected by the angle of the head.
When the head is tilted up, the jaw is projecting and the hairline is receding into space. The jaw appears larger and the hairline appears smaller. The landmarks of the face are compressed or "shortened" towards the hairline. Additionally, the underside of the jaw is visible.
Notice how the distance between the bottom of the nose and chin will increase while the distance between the hairline and brow line will decrease. The distance between the brow line and bottom of nose will be a compromise between the other measurements.
When the head is tilted down, the opposite will be true, and the top of the head is visible.
The more extreme the angles of the tilt or turn, the more extreme foreshortening.

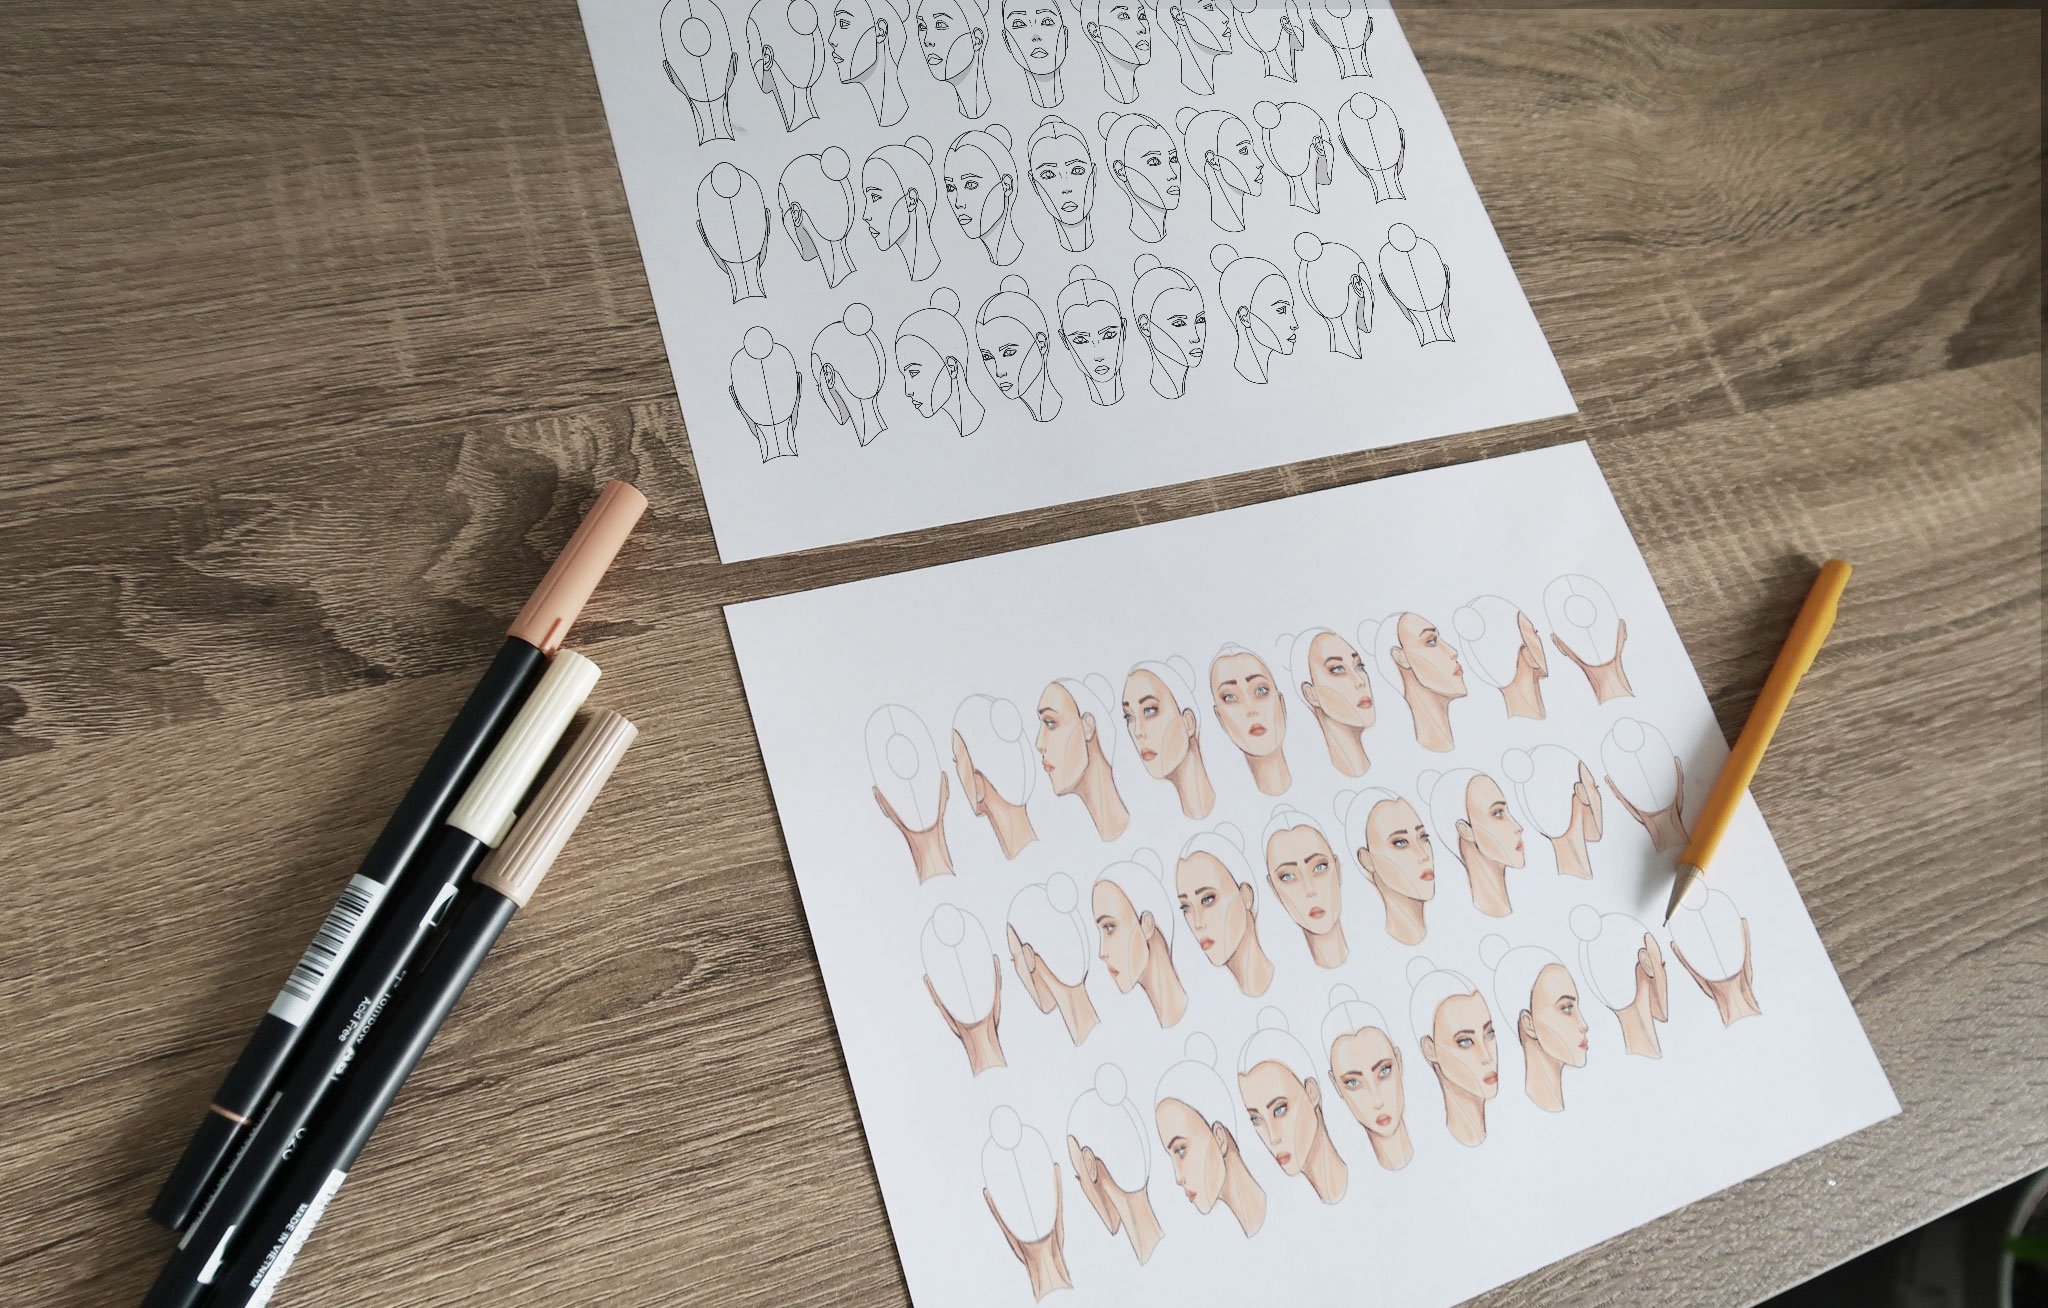
Practice with Drawing Exercises
With enough practice, drawing the head can feel like second nature. I will recommend drills for enhancing your head construction. Keep in mind the purpose of drills isn't speed but accuracy and taking the time to establish good habits to improve muscle memory.
“Muscle Memory-the ability to repeat a specific muscular movement with improved efficiency and accuracy that is acquired through practice and repetition”
A. Draw 50 circles
The majority of the Loomis head method is drawing the sphere. Without practicing the sphere first, drawing the head will be difficult with wonky results.
Start with the technique of drawing a simple circle. Instead of drawing a hard line, use motion and control to build in the shape. This first step is the foundation of your drawing, so make it count.
B. Draw 50 lined spheres
You can use this 3D model for reference. Add a darker cross hatch at the brow and centerline. Add an oval for the sides of the sphere.
C. Fill in the rest of the face using steps 3-4 of the tutorial on this page.
Step 3: Divide the face into thirds
Step 4: Draw the jawline of the skull
-Optional- Step 5: Add facial features
D. Study reference photos or 3-D models to practice construction
Pick 5-10 reference photos of the head and re-create them using the Loomis method.
A great practice is to trace over photos. You can use a tablet or tracing paper over magazines or newspapers.
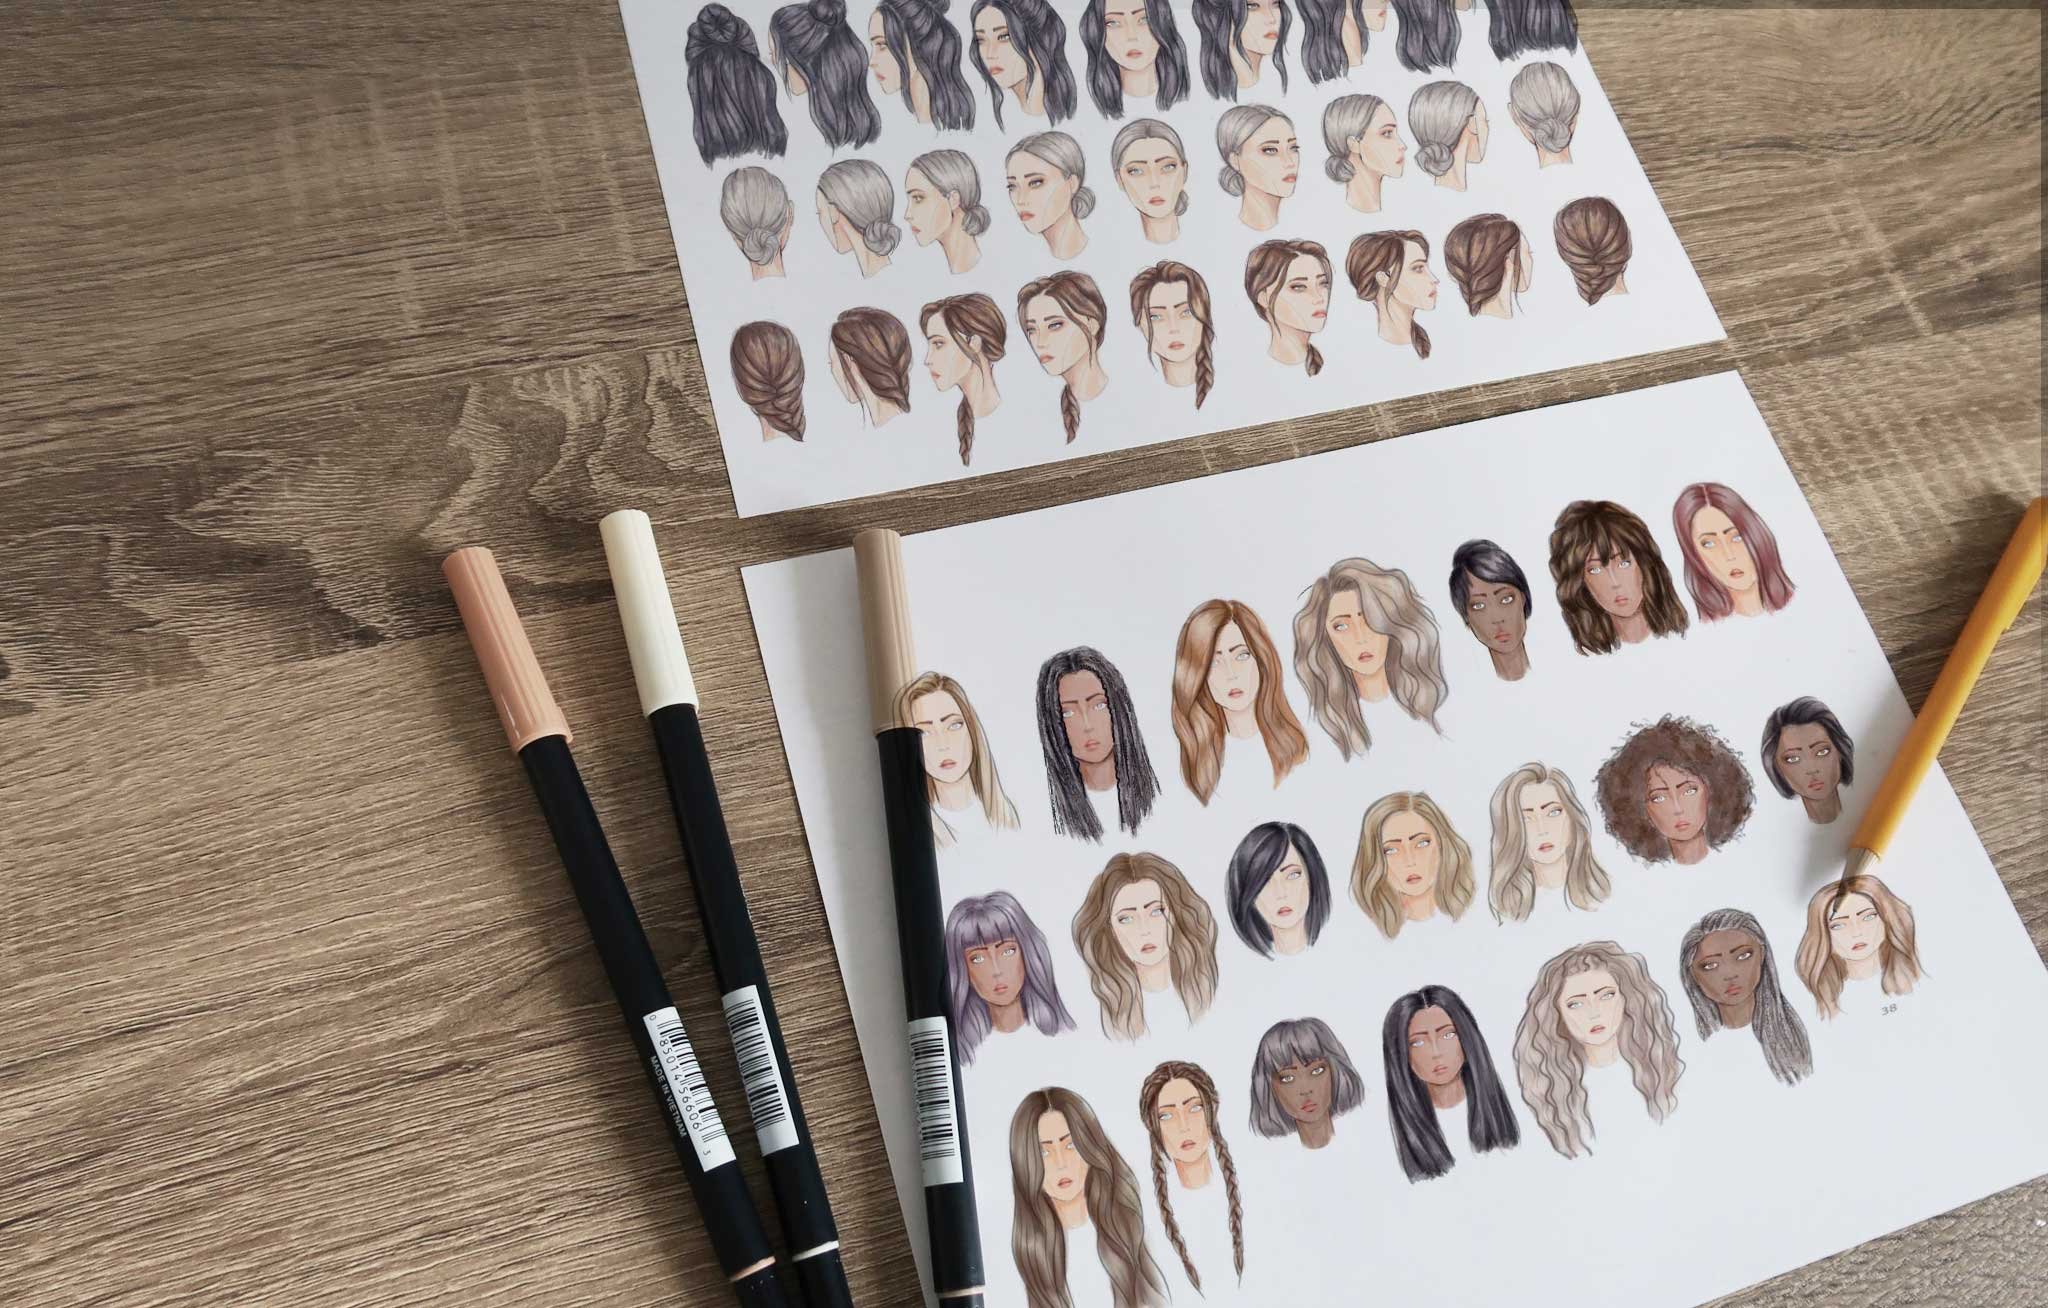
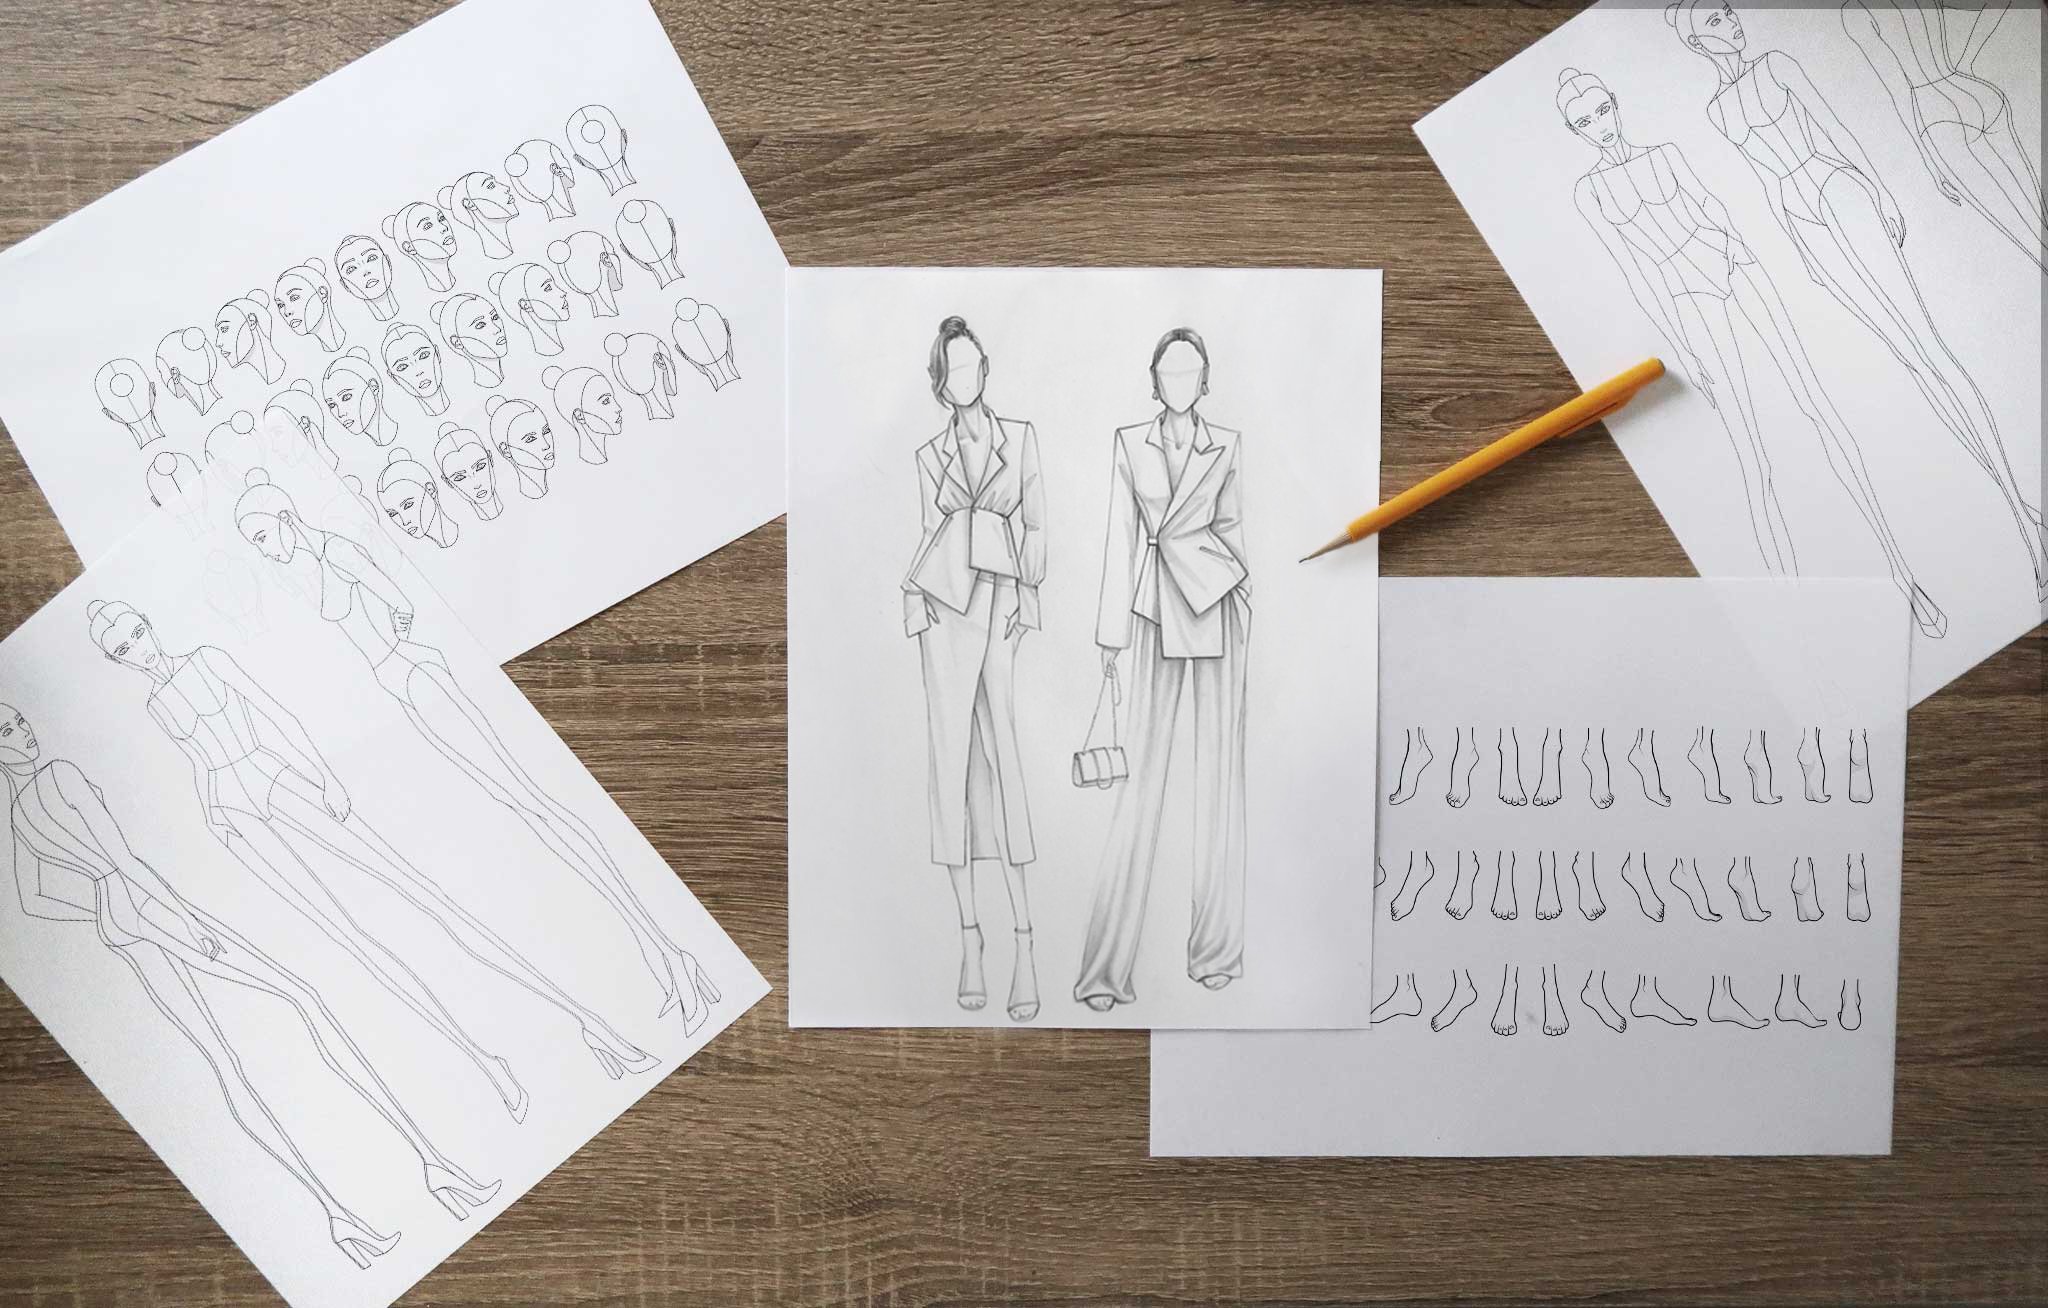
Getting Creative
The Loomis Head is a fantastic method to construct the average head from any position. The proportions of the skull and facial features can vary from person to person. After getting the hang of the basic steps, feel free to explore drawing different head types with varying proportions.
Depending on the type of work, drawing a realistic head with all the facial details may not be necessary. Feel free to experiment with your own iterations of the Loomis head.
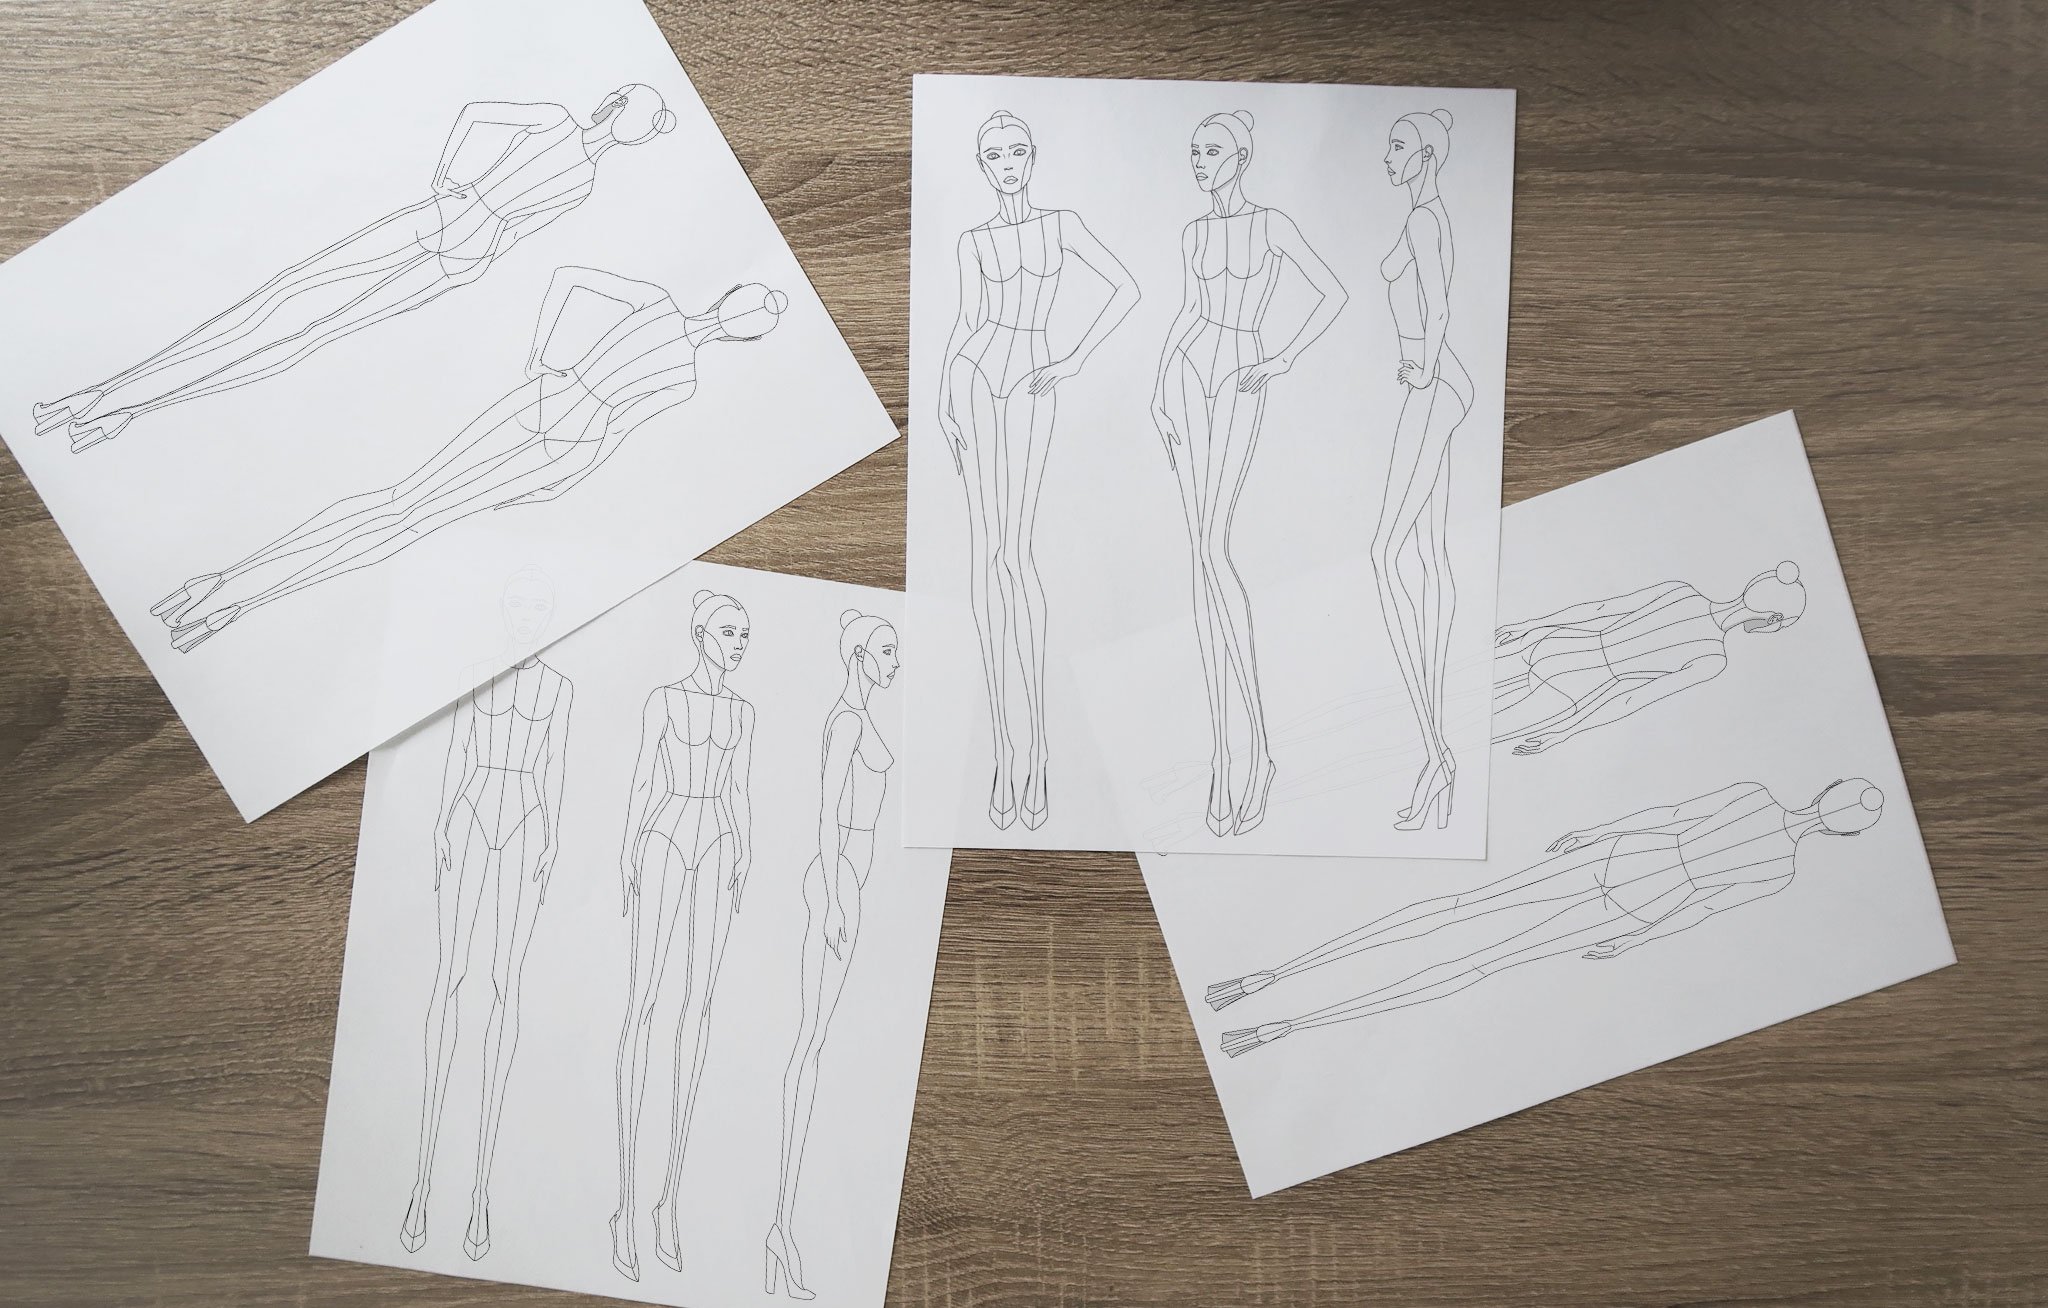
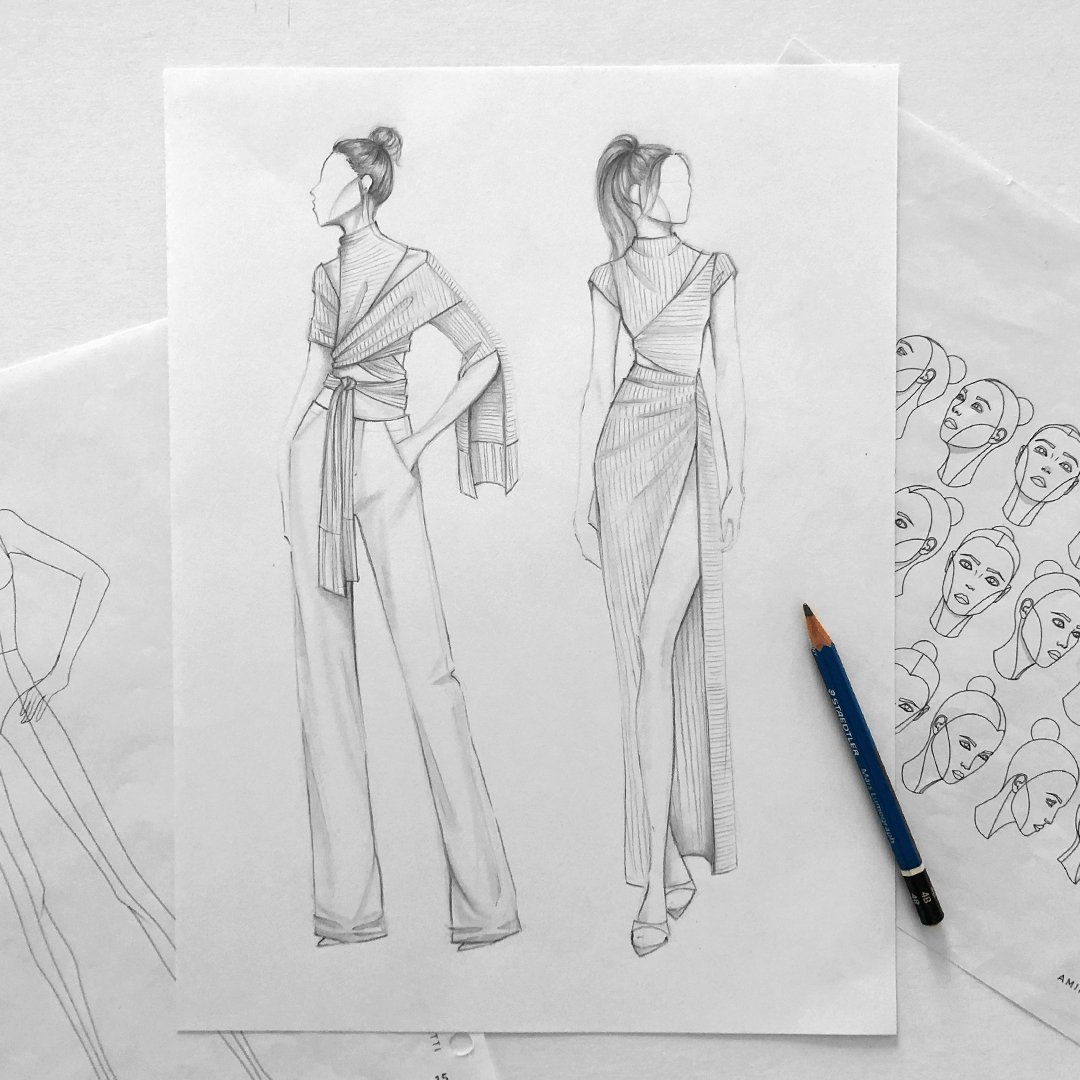
Personally, I draw the basic construction of the head and not the facial features. As a fashion designer, I find this approach quite elegant without distracting from the garment design. Here are some examples from my instagram:
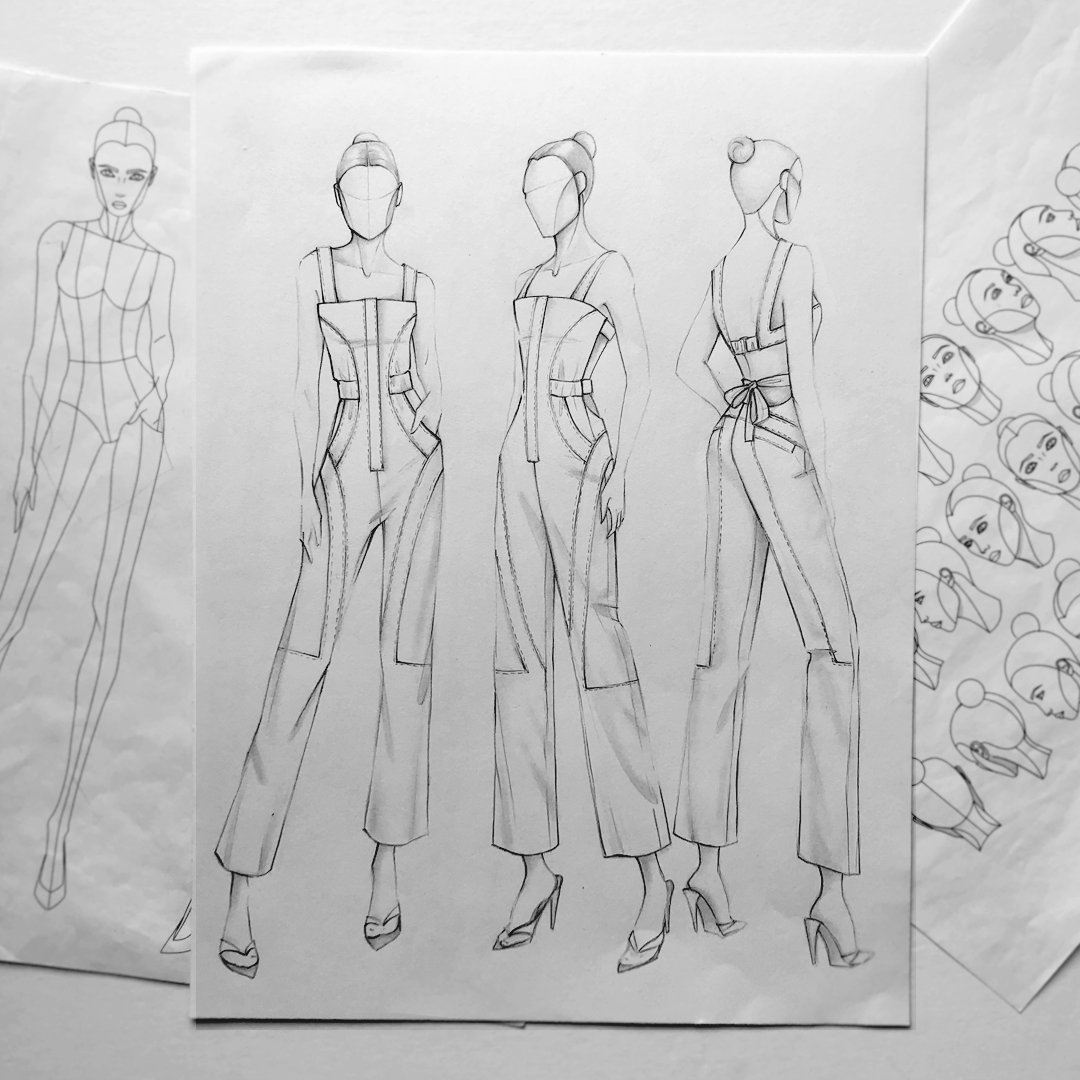
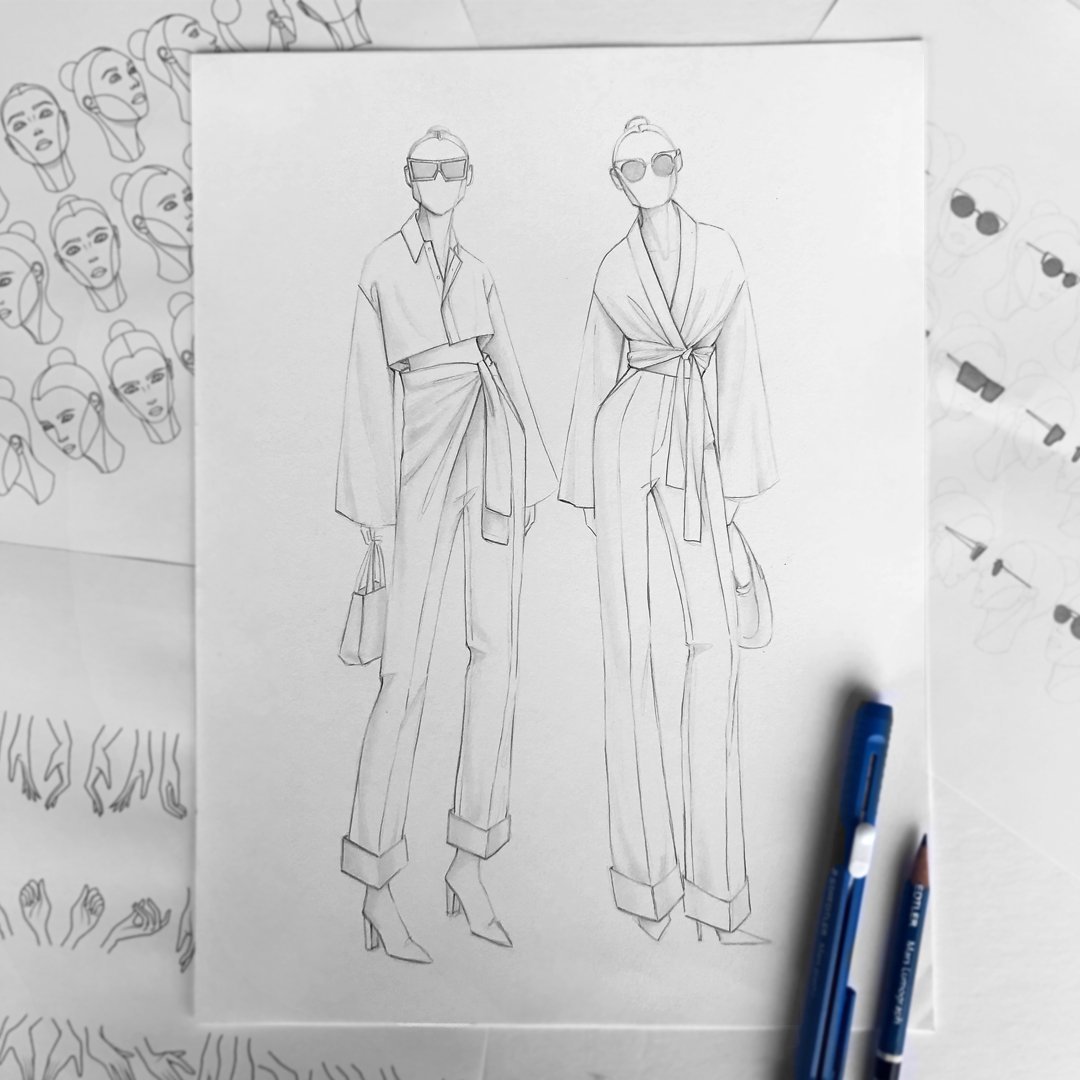
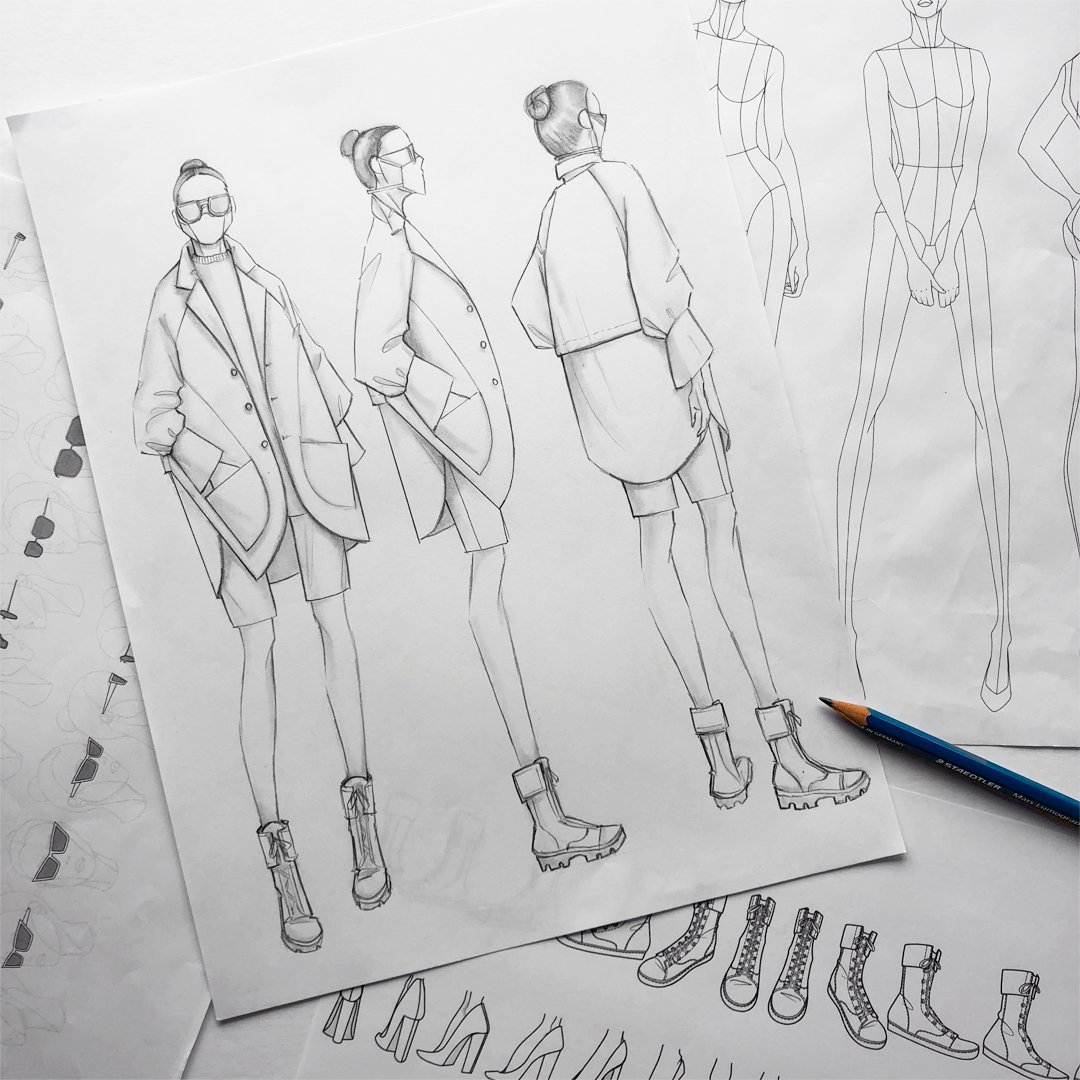
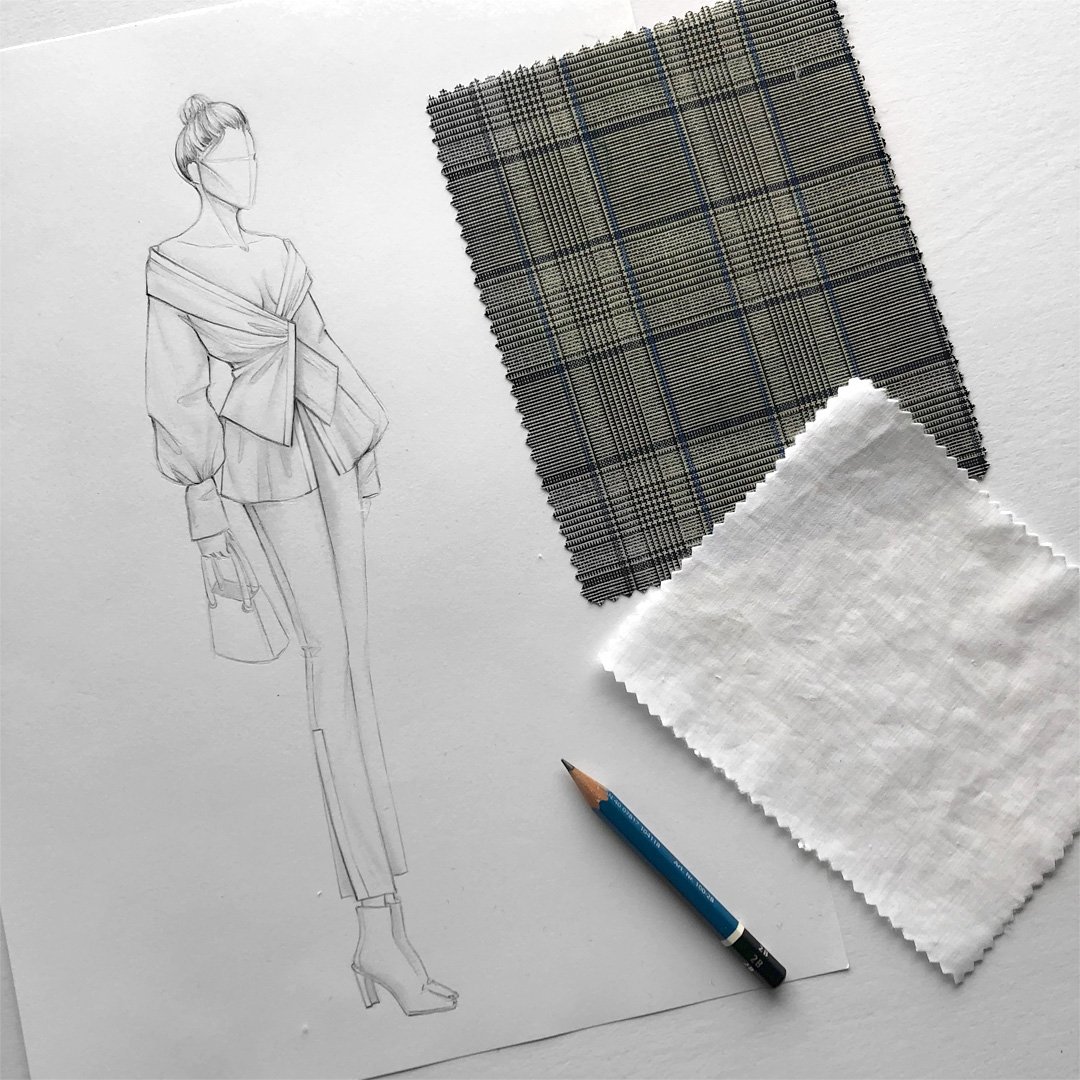

I've also seen many iterations of the head with partial facial features like the lips, eyes, or crosshatch for the face. It's fun to experiment and discover which approach works for your industry and design aesthetic.
Let's Review
Here are the key takeaways from the page:
✓ The head is a flattened sphere with a block for the jaw and cheekbones
✓ The facial features can be divided into thirds, starting at the hairline and ending at the chin
✓ The Loomis method works for back views too
✓ Foreshortening distorts proportions
✓ Practice with drawing exercises and reference photos
✓ The Loomis method approach is for the average head. Proportions can vary from person to person
✓ Break the rules and get creative with signature iterations of the head with all, none, or partial facial features
Suggested for you:
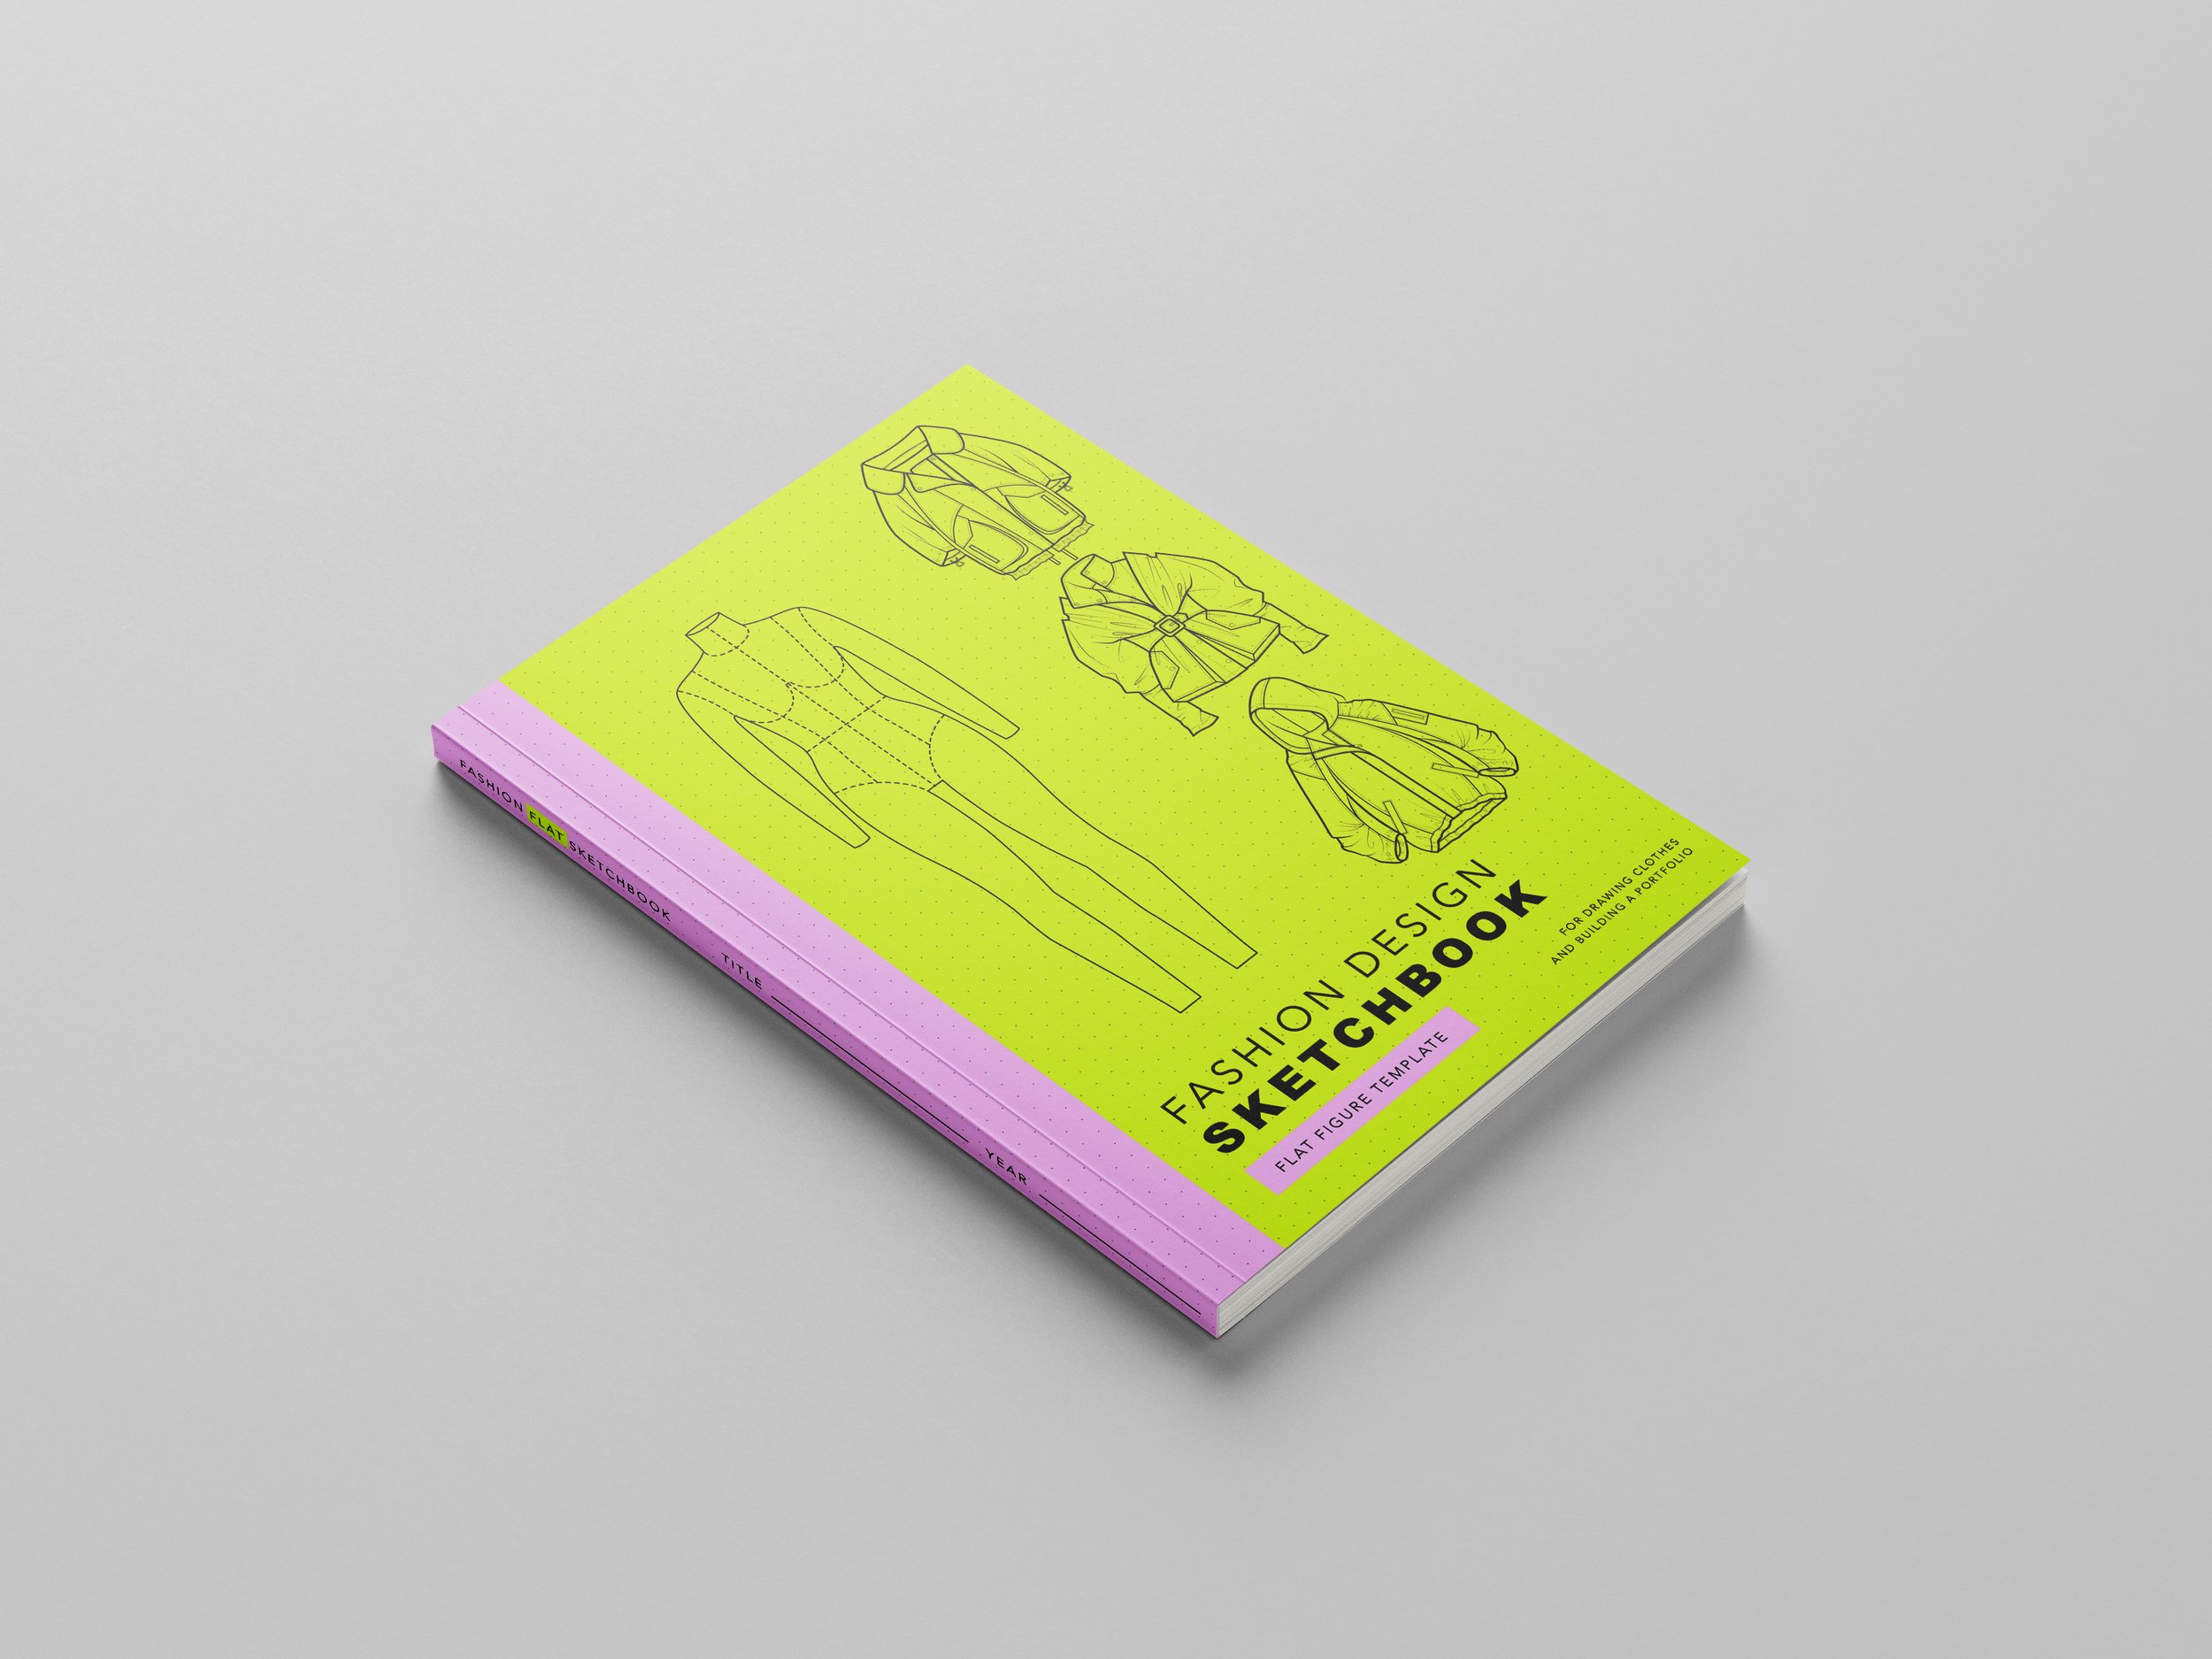
Fashion Design Sketchbook

*Affiliate link (commissions earned at no additional cost to you)